How to Patch Denim So Your Jeans Look Even Better
I was sitting on my floor last Tuesday, staring at a fresh blowout in the knee of my favorite vintage denim, realizing I’d spent more time worrying about the hole than I actually spent working. Most people will tell you that learning how to patch jeans requires a sewing machine, a degree in textiles, or at least a massive amount of patience you don’t have. That’s a lie. I grew up in a house where we didn’t replace things just because they broke; we fixed them because we couldn’t afford not to. You don’t need a craft room full of supplies to save your clothes; you just need a system that doesn’t eat up your entire Saturday.
This guide isn’t about turning your pants into a complex embroidery project or some over-complicated DIY disaster. I’m going to show you the low-effort methods for how to patch jeans so they actually look intentional and stay functional. We’re focusing on small, repeatable fixes that work with the tools you likely already have in a junk drawer. No fluff, no expensive kits—just practical repairs that keep your wardrobe intact and your bank account steady.
Table of Contents
Guide Overview
Tools & Supplies
- Sewing needle and thread or sewing machine
- Fabric scissors for trimming frayed edges
- Pins to hold the patch in place
- Denim patch or scrap fabric
- Matching or contrasting thread
- Iron and interfacing for stability
Step-by-Step Instructions
- 1. First, grab your jeans and a pair of sharp scissors. You need to trim away any frayed, loose threads around the hole. If you leave those dangling bits, they’ll just keep unraveling and make the patch look messy. Just a clean, straight cut around the damage is all you need to get started.
- 2. Pick out your patch material. Since I’m not looking to turn my pants into a craft project, I usually go with a scrap of heavyweight denim or even a piece of canvas from an old bag. If you want the repair to be invisible, try to match the color and weight as closely as possible, but honestly, a contrasting patch looks intentional and way more interesting.
- 3. Lay the patch underneath the hole. You want the fabric to extend at least an inch beyond the damaged area in every direction. This isn’t just for aesthetics; you need that extra surface area to anchor the patch securely to the healthy part of the denim so it doesn’t rip out again next week.
- 4. Get your needle and thread ready. I recommend using a heavy-duty polyester thread because cotton tends to snap when you’re working with thick denim. If you don’t have a sewing machine, don’t sweat it—a simple hand-sewn running stitch or a basic whipstitch works perfectly fine for a repair that actually holds.
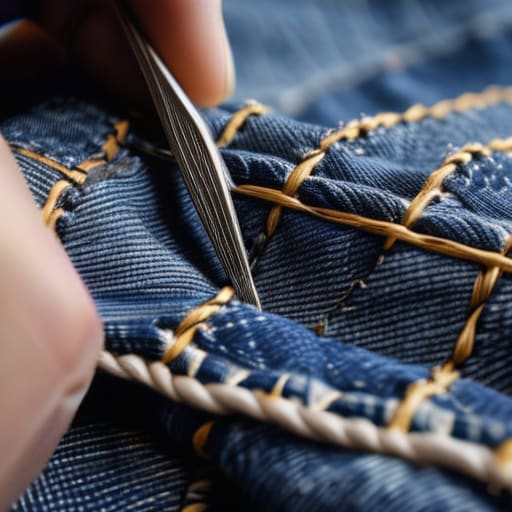
- 5. Start sewing from the inside. Stitch through both the denim and the patch, moving in small, consistent increments around the perimeter of the hole. Focus on making your stitches tight and even. You aren’t trying to create a masterpiece; you’re just building a structural bridge between the two pieces of fabric.
- 6. Once you’ve secured the edges, do a quick “tug test.” Give the fabric a gentle pull to make sure nothing is shifting or pulling loose. If it feels solid, trim any excess thread and call it a day. You’ve just saved a hundred bucks and kept a decent pair of pants out of a landfill.
Quick Fixes Using Fabric Glue for Jeans and Iron on Denim Patches
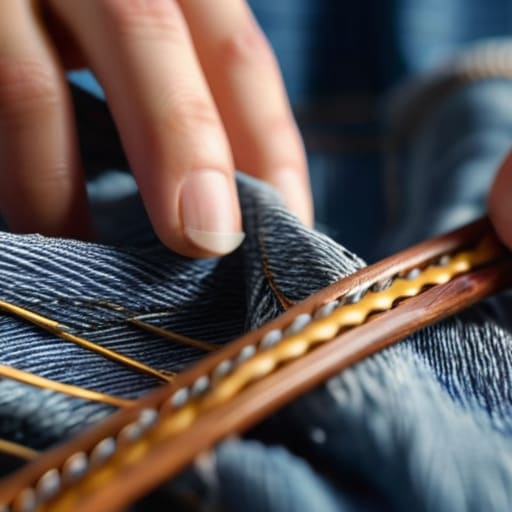
If you’re staring at a hole in your jeans and the thought of picking up a needle makes you want to nap, I get it. Sometimes you just need a solution that takes five minutes. For small fraying edges or spots that aren’t under heavy tension, fabric glue for jeans is a legitimate lifesaver. Just apply a thin layer to the underside of the fray, press it down, and let it sit. It’s not a permanent fix for a massive blowout, but it stops the damage from spreading until you actually have the energy to do it properly.
If you want something a bit more structural but still want to avoid a full-blown sewing session, grab some iron-on denim patches. They’re great for reinforcing the knees or fixing small punctures without needing a sewing machine. Just make sure you use a heavy press and let it cool completely so the adhesive actually bites into the fabric. It’s a low-effort way to extend the life of your favorite pair without turning your living room into a textile workshop.
Long Term Wins With Darning Technique for Denim and Sashiko Stitching
If you’ve moved past the quick fixes and actually want these jeans to last another three years, you need to look at darning technique for denim. Unlike a patch that just sits on top of a hole, darning essentially weaves new threads into the existing fabric structure. It’s a bit more time-consuming, but it creates a structural repair that won’t peel off like a sticker. I usually grab my notebook to track which pairs need this level of attention, as it’s a slow process that requires a bit of patience.
If you want to turn a repair into a design choice, I highly recommend looking into denim sashiko stitching. It’s a Japanese method that uses simple, geometric running stitches to reinforce worn areas. Instead of trying to hide the damage, you’re leaning into it with a pattern that looks intentional. It’s one of those visible mending techniques that actually adds character to your clothes rather than making them look cheap. It’s not about perfection; it’s about building a garment that tells a story of being used and maintained.
Five ways to make sure your repairs actually last
- Don’t skip the wash before you start. If there’s any invisible dirt or oils on the denim, your glue or thread won’t bite, and you’ll be re-patching the same hole in two weeks.
- Match the weight, not just the color. If you put a super thin scrap of cotton on heavy-duty raw denim, it’s going to tear right through the patch instead of fixing the jeans.
- Trim the loose threads first. If you try to patch over a fraying edge without cleaning it up, the hole is just going to keep growing under your repair.
- Use the right needle for the job. Using a standard thin needle on heavy denim is a recipe for a snapped thread and a frustrated afternoon; grab a heavy-duty denim needle and get it over with.
- Keep your scraps in a dedicated bin. I keep a small box of denim offcuts in my desk so when a hole pops up, I don’t have to go hunting for material—I just grab, patch, and move on.
The Long Game with Your Denim
At the end of the day, patching your jeans isn’t about being a master tailor; it’s about choosing the right tool for the specific level of damage you’re facing. If you’re in a rush and just need to stop a fray from getting worse, go with the fabric glue or an iron-on patch to get through the week. But if you actually care about the longevity of the garment, taking the time to learn a bit of darning or sashiko is what turns a piece of clothing into a long-term staple. You don’t need a massive sewing kit to make this work—just pick the method that fits your current energy level and move on with your day.
We live in a culture that tells us to just toss things when they break and click “buy now” on something identical. I think that’s a losing game for your wallet and your headspace. By repairing what you already own, you aren’t just saving money; you’re building a system of intentionality that carries over into every other part of your life. Every successful patch is a small, repeatable win that proves you don’t need more stuff to live well—you just need to take better care of what you’ve already got.
Frequently Asked Questions
How do I stop the patch from looking like a bulky, ugly mess on my thighs?
The trick is to stop thinking about the patch as an “add-on” and start thinking about it as part of the fabric. If you’re using iron-ons, don’t just slap them on; trim the edges of the patch so they sit flush with the denim, not over it. If you’re sewing, keep your tension even. A bulky patch usually means you’re fighting the fabric instead of working with it. Aim for thin, flat layers.
Can I actually wash these jeans in a machine after patching them, or will the repair fall apart?
Short answer: Yes, but don’t treat them like they’re brand new. If you used glue or iron-ons, keep the water temperature cold and skip the heavy-duty cycle; high heat is the enemy of adhesives. If you went the darning or sashiko route, you’re golden—those stitches actually get stronger with wear. Just flip them inside out before tossing them in. It protects the repair and keeps your machine from working harder than it needs to.
What do I do if the hole is in a high-stress spot like the crotch or the pocket edge?
High-stress areas like the crotch or pocket edges need more than just a surface fix; they need structural reinforcement. If you just patch the surface, the tension will rip right through the new fabric. Instead, use an internal patch. Place a scrap of sturdy denim on the inside of the jeans, then stitch through both layers. It builds a reinforced “bridge” that handles the movement without looking like a messy DIY project.

