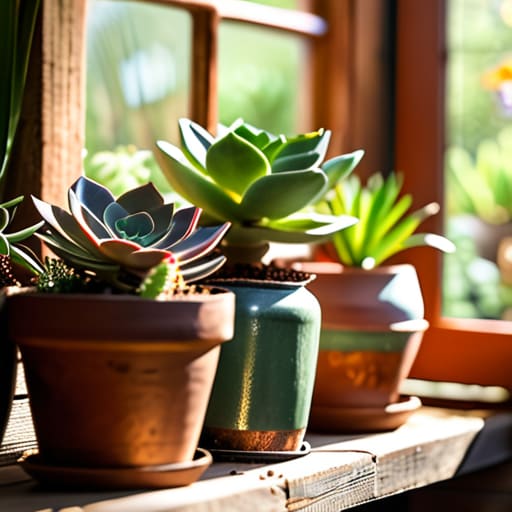
Repurpose Everyday Items Into Creative Garden Planters
I used to think that if I wanted a decent indoor garden, I had to drop sixty bucks at a boutique nursery on a ceramic pot that looked pretty but felt flimsy. Growing up in a cramped apartment, I learned pretty quickly that spending money on things that just sit there looking expensive is a losing game. Most people think you need a workshop full of power tools to make decent diy planters, but that’s just a myth designed to sell you more gear. In reality, the best systems are the ones you can build using things you already have in your kitchen or recycling bin.
In this guide, I’m skipping the over-complicated Pinterest projects that take three hours and leave your living room a mess. Instead, I’m showing you how to build low-effort, high-function diy planters that actually work for your space and your budget. We’re talking about quick setups using tin cans, glass jars, or even old containers you’d otherwise toss. My goal is to help you get some greenery into your life without the unnecessary financial or temporal tax. Let’s get to work.
Table of Contents
Guide Overview
Tools & Supplies
- Drill and drill bits for drainage holes
- Measuring tape for precise sizing
- Sandpaper to smooth edges
- Upcycled containers (tin cans, wooden crates, or plastic tubs) 3-5 units
- Potting soil 1 large bag
- Spray paint or acrylic paint 1-2 cans
- Small pebbles or gravel 1 small bag
Step-by-Step Instructions
- 1. First, clear some space on your floor or a sturdy table and gather your containers. I’m talking about old tin cans, large yogurt tubs, or even those wooden crates you find at the market. The goal isn’t to find something perfect; it’s to find something already existing in your recycling bin so you aren’t spending money you don’t have.
- 2. Once you’ve picked your vessels, you need to address drainage. This is the part where most people fail and end up with root rot. Take a hammer and a thick nail—or a drill if you have one—and punch three to four holes into the bottom of whatever you’re using. If you’re using a plastic container, just be careful not to crack the sides while you’re working.
- 3. If you’re using metal cans, the edges can get pretty sharp after you’ve punched those holes. Take a bit of sandpaper or even just a rough rag and smooth out the rims. I’ve learned the hard way that a tiny nick from a tin can is a quick way to ruin a productive afternoon.
- 4. Now, let’s talk aesthetics without the “DIY Pinterest” headache. If the containers look too messy or mismatched, don’t feel pressured to paint them with complex patterns. A quick coat of matte black spray paint or even just a bit of twine wrapped around the middle makes them look intentional and cohesive without taking an entire afternoon to finish.
- 5. Before you add the soil, grab a handful of small pebbles or some broken pieces of old terracotta pots. Place a layer of these at the bottom of your container before the dirt goes in. This creates a buffer zone that helps water move away from the roots, acting as a manual drainage system for containers that might not have perfect holes.
- 6. Fill your containers with a decent potting mix—not just dirt from outside, which is usually too heavy and full of pests. Pack it in lightly, leaving about an inch of space at the top so that when you water your plants, the soil doesn’t spill over the sides and make a mess of your floor.
- 7. Finally, tuck your plants in and give them their first drink. If you’re working with small herbs like basil or mint, keep them in a spot with decent light, like a windowsill. The whole process should take you less than thirty minutes, which means you can get back to whatever actually matters on your to-do list.
Upcycled Container Gardening Without the Weekend Long Projects
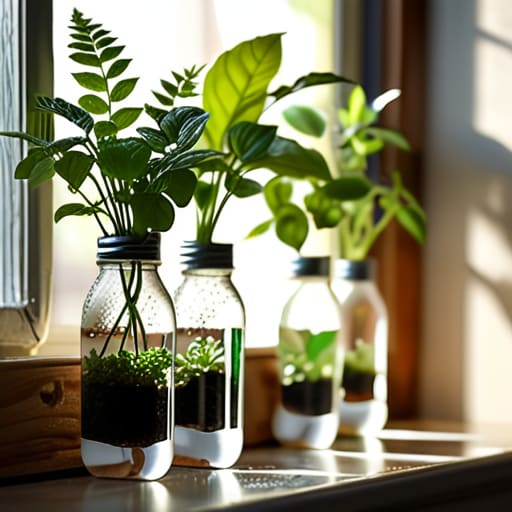
The biggest mistake people make is thinking they need a dedicated “gardening day” to get started. You don’t. If you’re looking into upcycled container gardening, the goal should be integration, not a massive overhaul. I’ve found that the best systems are the ones that happen in the gaps of your day. For example, instead of hunting for specialized supplies, look at what’s already in your recycling bin. You can turn several recycled plastic bottle planters into a vertical setup for your windowsill in about ten minutes. It’s not about being a master craftsman; it’s about finding a way to make the greenery work with the space you already have.
If you want something a bit more permanent but still low-effort, think about repurposing sturdy items like old wooden crates or even large tin cans. I usually aim for a minimalist utility look—clean lines, no unnecessary fluff. If you’re short on floor space, skip the heavy pots and look into simple hanging planter tutorials using twine or repurposed wire. It keeps your surfaces clear and your apartment feeling open. Just keep it functional, keep it simple, and don’t overcomplicate the process.
Budget Friendly Garden Decor Using Recycled Plastic Bottle Planters
If you’re trying to add some greenery to a small space without spending fifty bucks on ceramic pots, look at your recycling bin differently. Most people see trash; I see a modular system. Using recycled plastic bottle planters is probably the fastest way to start an indoor herb garden diy without a trip to the hardware store. All you need is a sharp blade, some twine, and a few 2-liter bottles. Cut them in half, poke some drainage holes in the bottom, and you’re done.
The trick to making these look like intentional decor rather than a middle school science project is consistency. If you use different colored bottles, it looks cluttered. If you use the same type and maybe wrap them in a bit of jute twine or spray them with a matte neutral paint, they actually look intentional. It’s a low-effort way to achieve some budget friendly garden decor that works perfectly for windowsills or small balconies. You aren’t just saving money; you’re building a system that doesn’t require a massive upfront investment to see some green.
Five ways to keep your DIY setup from becoming a mess
- Prioritize drainage or you’re just growing rot; if your container doesn’t have holes, grab a drill and make some before you even touch the soil.
- Don’t get obsessed with aesthetic perfection; a mismatched collection of thrifted ceramic bowls looks intentional and lived-in, whereas cheap plastic looks like clutter.
- Stick to a consistent scale; even if your containers are different materials, keeping them in a similar size range prevents your windowsill from looking chaotic.
- Buy soil in bulk rather than those tiny, expensive grocery store bags; it’s better for your wallet and results in less plastic waste sitting in your corner.
- Use a tray or a saucer under everything; I learned the hard way that cleaning up spilled dirt and water from a wooden desk is a chore I’d rather avoid entirely.
The Bottom Line
At the end of the day, you don’t need a massive backyard or a designer budget to bring some life into your space. Whether you’re drilling drainage holes in old tin cans or repurposing plastic bottles to save a few bucks, the goal is the same: creating a system that works for you without draining your energy. We’ve covered how to avoid those time-sink projects and how to turn literal trash into functional greenery. It’s about finding that sweet spot between utility and aesthetics—making sure your plants have a home that looks intentional rather than cluttered. Just remember to keep your containers simple, your drainage consistent, and your expectations realistic.
I used to think that having a “green thumb” meant buying expensive ceramic pots and spending my entire Saturday repotting everything. I was wrong. It’s actually just about small, repeatable wins. Start with one or two containers this week. See how they look on your windowsill or your desk. Once you realize that a bit of repurposed material can hold a thriving herb garden just as well as a boutique planter, the barrier to entry disappears. Stop waiting for the perfect setup to arrive in a cardboard box and just start building with what you already have in your kitchen.
Frequently Asked Questions
How do I stop these upcycled containers from leaking water all over my floor or balcony?
The biggest mistake people make is thinking a DIY planter is “done” just because it holds soil. If you’re using tin cans or plastic bottles, you need a drainage strategy. Either drill a few small holes in the bottom or, my preferred method, layer an inch of coarse gravel or even broken pottery shards at the base. It creates a buffer so the roots don’t sit in a swamp and the water doesn’t immediately flood your floor.
Which types of plants actually thrive in smaller, DIY containers versus traditional pots?
If you’re using smaller DIY containers, stick to plants with shallow, non-aggressive root systems. Herbs like mint, basil, and chives are perfect—they handle the smaller soil volume well. Succulents and cacti also thrive if you ensure your upcycled container has decent drainage. Avoid anything massive like tomatoes or large shrubs; they’ll outgrow a tin can or a plastic bottle in weeks and leave you with a messy, root-bound disaster. Keep it small, keep it manageable.
Is there a way to make these recycled planters look a bit more intentional and less like literal trash sitting on my windowsill?
The “trash” look usually comes from mismatched textures and messy edges. To fix this, stick to a unified color palette. Grab a single can of matte black or terracotta spray paint and coat everything—cans, bottles, or tins. It instantly makes them look like a curated set rather than a collection of scraps. If you want more texture, wrap them in leftover twine or even some scrap linen. Uniformity is the fastest way to make DIY look intentional.

