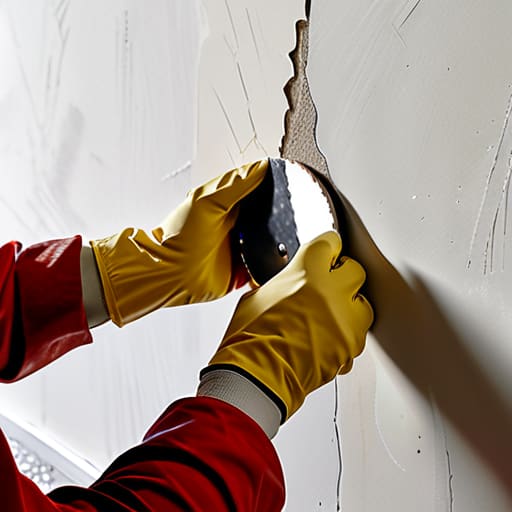
How to Repair Drywall Holes Like a Professional
I was staring at a jagged, drywall crater in my hallway for three weeks, convinced that learning how to patch a hole in the wall was going to require a specialized workshop and a weekend I didn’t have. Growing up in a cramped apartment, I learned pretty quickly that if you wait for the “perfect time” to fix something, it just becomes part of the furniture. Most DIY guides make this sound like a major construction project involving heavy sanding and expensive machinery, but that’s a lie. You don’t need to be a contractor; you just need to stop letting a small dent drain your mental energy every time you walk past it.
This isn’t a deep dive into professional masonry; it’s a blueprint for the rest of us. I’m going to show you the exact, low-effort system I use to fix wall damage so you can get it done in twenty minutes and get back to your actual life. We’ll cover the minimal toolkit you actually need, the trick to avoiding that messy, uneven finish, and how to make the repair completely invisible. No fluff, no wasted tools, just a way to keep your space looking intentional.
Table of Contents
Guide Overview
Tools & Supplies
- Putty knife for spreading compound
- Sandpaper for smoothing surfaces
- Spackle knife for small repairs
- Spackle or joint compound (1 small tub)
- Wall patch or mesh tape (1 roll/sheet)
- Sanding sponge (1 sponge)
- Touch-up paint (1 small can)
Step-by-Step Instructions
- 1. First, figure out the scale of the damage. If it’s just a tiny nail hole, you can probably get away with a dab of spackle and a finger. But if you’ve actually gouged the drywall, you’re going to need a mesh patch kit. Grab one from the hardware store—it’s a small piece of adhesive mesh that makes the whole process way less stressful.
- 2. Clean the area. This sounds trivial, but if there’s loose paint or crumbling plaster around the hole, your patch is going to fail. Take a damp cloth or a quick pass with some sandpaper to clear the debris. You want a flat, stable surface so the patch actually sticks to the wall instead of just falling out in a week.
- 3. Apply the patch. If you bought a mesh kit, peel the backing and center it over the hole. Press it down firmly. If you’re dealing with something larger, you might need to use a little bit of joint compound to anchor the mesh in place. Don’t worry about making it look pretty yet; we’re just building the foundation here.
- 4. Spread the spackle. Using a putty knife, smear a thin layer of spackle over the patch. The trick is to feather the edges—that means spreading the compound slightly wider than the hole itself so it blends into the existing wall. If you pile it on too thick, you’ll end up with a massive bump that’s a nightmare to sand down later.
- 5. Let it dry and sand. This is the part where you actually step away. Let it dry completely—usually a couple of hours, but check the tub for specifics. Once it’s hard, take a fine-grit sanding sponge and smooth out the ridges. You want the surface to feel seamless to the touch before you even think about touching a paintbrush.
- 6. Prime and paint. If you skip this, the patch will look like a dull, matte shadow on your wall. Hit it with a quick coat of primer to seal the patch, then dab on your matching paint. I usually keep a small sample jar of my wall color in a Ziploc bag in my utility drawer specifically for these exact moments.
The Minimal Essential Drywall Repair Tools You Actually Need
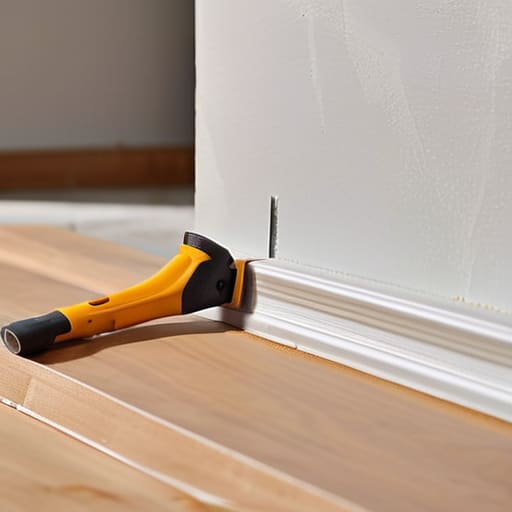
Look, you don’t need to trek to the hardware store and buy a professional contractor’s kit for a dent the size of a coin. Most people overspend on specialized gear they’ll use once and then let collect dust in a junk drawer. If you’re just dealing with a nail hole or a minor scuff, a basic drywall patch kit for small holes is plenty. It usually comes with the mesh, the compound, and a tiny spreader, which keeps your workspace clean and your budget intact.
If the damage is more significant—maybe a door handle actually went through the surface—you’ll need to step up to the essential drywall repair tools like a larger putty knife and a sanding sponge. Don’t bother with those heavy-duty power sanders; they’ll just create a cloud of white dust that stays in your lungs for a week. Instead, focus on manual control. When it comes to applying joint compound to walls, the goal isn’t perfection on the first pass; it’s about building thin, manageable layers that you can easily level out later.
Mastering the Drywall Patch Kit for Small Holes Without the Mess
If you’re using a drywall patch kit for small holes, the biggest mistake is trying to do it all in one heavy layer. I learned that the hard way moving into my first place; I tried to bury a screw hole under a thick glob of spackle, and it ended up looking like a mountain on my ceiling. Instead, think in thin, translucent layers. Apply just enough compound to fill the void, then stop. Let it dry completely before you even think about the next step. This keeps the surface level and prevents that annoying “sinkhole” effect that happens when wet compound shrinks as it cures.
When you’re applying joint compound to walls, your goal isn’t perfection on the first pass—it’s about building a foundation. Use a light touch with your putty knife, spreading the material slightly beyond the edges of the hole to blend it into the surrounding area. Once it’s bone dry, that’s when you figure out how to sand drywall smooth without creating a cloud of white dust that coats your entire apartment. Use a fine-grit sanding sponge and move in small, circular motions. It’s a mindless task, but it’s the difference between a visible scar and a seamless finish.
Pro-tips to keep this from becoming a weekend-ruining mess
- Sand lightly and often. If you try to force one heavy sanding session to fix everything, you’re going to end up with a crater instead of a patch. A few light passes are better than one aggressive one.
- Don’t skip the primer. If you just paint directly over the spackle, the texture will look different and the color won’t match. It’s an extra five minutes of work that prevents a massive headache later.
- Keep a damp rag nearby. Spackle dries fast, and if it gets on your floor or your baseboards, it’s a pain to scrub off once it hardens. Clean as you go so you aren’t cleaning the whole room after the job is done.
- Watch your pressure. When you’re applying the putty knife, don’t press too hard. You want to fill the hole, not squeeze the compound out of the sides. Aim for a smooth, thin layer.
- Match the texture, not just the color. If your wall has a slight grit or pattern to it, use a sponge or a dry brush to lightly mimic that before the patch dries completely. It makes the repair invisible rather than a “spot” on the wall.
The Finish Line
At the end of the day, fixing a hole in the wall isn’t about achieving architectural perfection; it’s about reclaiming your space from the little things that nag at you. You don’t need a professional contractor or a garage full of specialized equipment to get this done. Just remember to keep your spackle thin, your sanding light, and your patience steady. If you follow the system—prep the area, apply the patch, and sand it smooth—you’ll have that dent gone before your coffee even gets cold. It’s about choosing the minimalist approach so you can stop staring at the damage and start enjoying your apartment again.
We spend so much of our lives waiting for the “right time” or the “right budget” to tackle the maintenance our homes require. But the truth is, waiting only lets the small stuff pile up until it feels overwhelming. Fixing a wall is a small, repeatable win, and those are the wins that actually build a sense of agency over your environment. Don’t let a tiny imperfection convince you that your space is falling apart. Grab your tools, spend twenty minutes on it, and get back to your actual life. You’ve got better things to do than worry about a dent in the drywall.
Frequently Asked Questions
What if the hole is actually too big for a simple patch kit and I'm looking at a full piece of drywall?
If you’re looking at a gaping hole that a patch kit can’t touch, stop trying to “fix” it and start replacing a section. You’ll need a piece of drywall cut to size, some scrap wood for backing, and a few screws. Screw the wood behind the hole to create a frame, nestle the new patch in, and screw it to the wood. It’s more work, but it’s the only way to do it right.
How do I sand the patch down without turning my entire apartment into a cloud of white dust?
The biggest mistake is just going to town with a sanding block in the middle of your living room. Don’t do that. Grab a damp sponge instead; it’s much more controlled and keeps the dust from becoming airborne. If you must sand, use a fine-grit sponge and do it over a piece of cardboard or a trash bag. Keep a vacuum nearby, or better yet, just wipe the area down with a wet rag immediately after.
Can I just paint over the patch immediately, or do I have to wait a certain amount of time for it to fully cure?
Don’t rush it. If you paint over wet spackle, you’re just asking for a textured mess that’ll peel off in a month. You need to wait until it’s bone-dry and completely white. If you’re using a standard lightweight patch, that usually takes a couple of hours, but if your apartment is humid, give it until tomorrow. Sand it smooth once it’s dry, then hit it with the paint. Patience is the only way to avoid redoing the work.