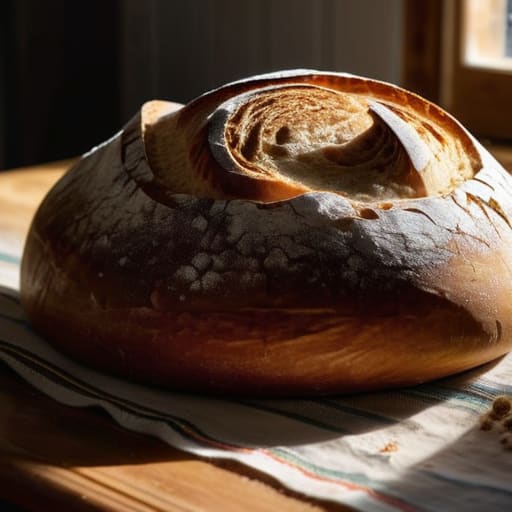
Baking Homemade Bread Without Professional Gear
I spent most of my childhood watching my mom try to make ends meet in a kitchen that felt way too small for the amount of work we were doing. I learned early on that if a process is unnecessarily complicated, it’s usually because someone is trying to sell you a gadget you don’t need. Most “expert” guides on how to bake bread at home feel like they were written by people with too much time and way too much flour on their expensive marble countertops. They want you to buy specialized proofing baskets, temperature-controlled proofing boxes, and artisanal flour blends that cost more than my weekly grocery budget. Honestly? It’s exhausting and, frankly, a bit ridiculous.
I’m not here to turn your kitchen into a high-maintenance laboratory or add a second job to your plate. My goal is to show you a low-friction system for consistent, decent loaves using the basic tools you likely already have in your cupboard. We’re going to focus on small, repeatable wins that fit into a busy schedule, not a lifestyle overhaul. I’ll show you how to master the basics so you can stop overpaying for mediocre supermarket loaves and start enjoying real bread without the unnecessary stress.
Table of Contents
Mastering Bread Making for Beginners Without the Stress
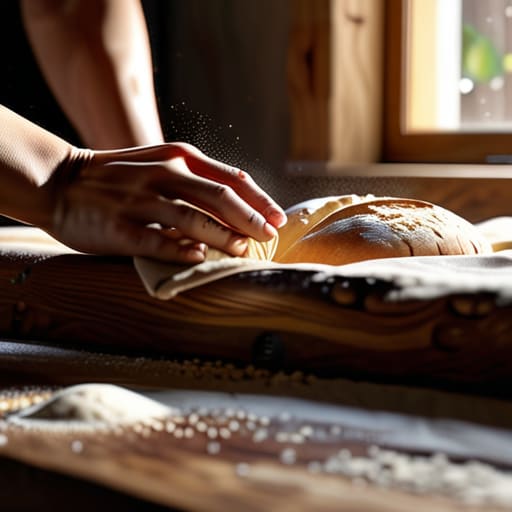
The biggest mistake I see people make is treating bread like a high-stakes chemistry exam. You don’t need a laboratory or a degree in food science to get a decent loaf; you just need to understand the rhythm of the ingredients. When it comes to bread making for beginners, the goal isn’t perfection—it’s consistency. Start by focusing on your flour. Don’t get bogged down in artisanal varieties right away; just grab a decent bread flour with high protein content to give your structure some backbone.
Once you have your ingredients, don’t overthink the gear. You don’t need a professional convection oven or a $500 stand mixer to succeed. Your essential bread baking tools are really just a sturdy bowl, a kitchen scale (because measuring by volume is a trap), and a bit of patience. Instead of obsessing over complex kneading dough techniques, focus on the yeast fermentation process. If you give the dough enough time to sit and do its thing in a warm spot, it will do most of the heavy lifting for you. Keep it simple, watch the dough, and let it work.
Choosing the Right Flour Types for Bread Success
Don’t let the flour aisle intimidate you. You don’t need a specialized pantry full of obscure grains to get started; you just need to understand how protein affects your loaf. Most people make the mistake of grabbing generic all-purpose flour and wondering why their bread lacks structure. For anyone starting with bread making for beginners, the real secret lies in the protein content.
If you want that classic, chewy texture found in a good sourdough or a standard boule, you need bread flour. It has a higher protein concentration, which creates the gluten network necessary to hold those gases produced during the yeast fermentation process. If you try to use low-protein pastry flour, your dough will likely end up as a gummy, flat mess.
On the flip side, if you’re looking for something softer—think sandwich bread or rolls—all-purpose flour works fine, but it won’t give you that same dramatic rise. My rule of thumb is simple: prioritize high-protein bread flour if you want to see actual results from your effort. It’s a small investment that saves you from the frustration of wasted ingredients and failed attempts.
Five Low-Friction Rules for Better Loaves
- Stop obsessing over grams and start using a scale. Measuring flour by cups is a recipe for inconsistent, heavy bricks. A digital scale is cheap, and it removes the guesswork so you aren’t constantly troubleshooting why your dough feels like clay one day and soup the next.
- Let the dough do the heavy lifting. You don’t need to spend forty minutes aggressively kneading until your forearms ache. Use the “stretch and fold” method every thirty minutes instead. It builds strength in the dough while you actually go do something else, like working or fixing a synth.
- Temperature is your invisible ingredient. If your kitchen is freezing, your dough won’t move; if it’s a sauna, it’ll overproof and collapse. Find a consistent spot—near a window or inside an oven that’s turned off—to keep the rise predictable.
- Don’t fear the “ugly” stage. Your first few loaves might look lopsided or have a weirdly thick crust. That’s fine. Bread is functional food, not a centerpiece for a magazine. If it tastes good with some salted butter, you’ve already won.
- Prep your workspace once, then leave it. Don’t let the cleanup become a barrier to making bread. Keep a dedicated bench scraper and a single bowl for your dough. If the setup takes more than two minutes, you won’t do it on a Tuesday night, and that’s the whole point of a system.
The Long Game of Good Bread
At the end of the day, baking bread isn’t about mastering a complex chemistry experiment or owning a professional-grade deck oven. It’s about understanding that the right flour, a bit of patience during the rise, and a systematic approach to your kitchen workflow are the only things that actually matter. You don’t need a dozen specialized tools; you just need to stop overcomplicating the process. Once you’ve dialed in your flour choice and found a rhythm that fits your schedule, you’ve effectively decoupled your kitchen from the grocery store cycle, saving money and eating better in the process.
Don’t get discouraged if your first loaf comes out looking more like a brick than a sourdough masterpiece. I’ve been there, and honestly, it still tastes fine with enough butter. The goal here isn’t perfection; it’s about building a repeatable win that stays within your means and your time constraints. Start small, keep your workspace clean, and let the dough do most of the heavy lifting. Eventually, this won’t feel like a “task” on your to-do list anymore—it’ll just be part of how you live.
Frequently Asked Questions
Do I really need a stand mixer, or can I just get through this with my hands and a decent bowl?
Honestly? You don’t need a stand mixer. I grew up in a house where we didn’t have fancy gadgets, and I still swear by hand-kneading. A heavy bowl and some elbow grease are plenty. A mixer is just another expensive machine to clean and store. If you’re just starting, stick to your hands. It helps you actually feel the dough’s texture, and it costs zero dollars. Keep it simple.
How do I know if my dough has actually risen enough if I don't have a professional proofing basket?
You don’t need a fancy wicker basket to tell if your dough is ready. Honestly, a bowl lined with a well-floured tea towel works just as well. To check the rise, use the “poke test.” Gently press your finger about half an inch into the dough. If it springs back slowly and leaves a small indentation, it’s ready. If it snaps back instantly, it needs more time. If it collapses, you’ve gone too far.
What’s the easiest way to get a decent crust without buying an expensive Dutch oven?
You don’t need a $50 cast iron pot to get that crackly crust. Honestly, the easiest workaround is a simple baking sheet and a shallow pan of water. Throw your dough onto the sheet, then pour boiling water into the pan at the bottom of the oven right when you slide the bread in. That burst of steam is what does the heavy lifting, keeping the surface moist so it can expand and crisp up properly.

