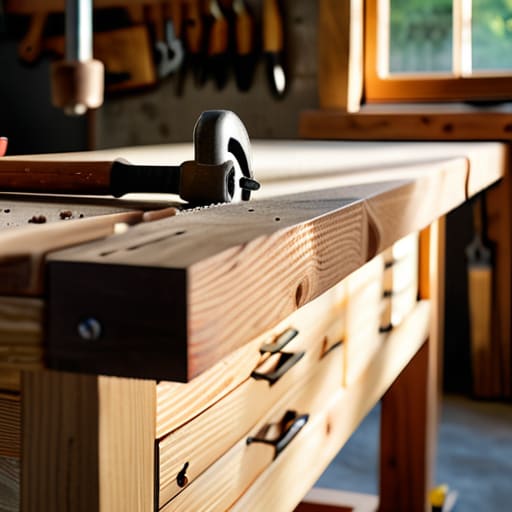
Build a Heavy-duty Workbench for Your Garage Workshop
I remember sitting on the floor of my childhood apartment, trying to repair a broken chair leg using nothing but a stack of old textbooks for stability and a screwdriver I’d found in a junk drawer. It was frustrating, clumsy, and honestly, a complete waste of time. Most people think you need a massive garage and a professional-grade workshop to get serious about DIY, but that’s a lie. Learning how to build a workbench isn’t about owning every power tool in the catalog; it’s about creating a stable, reliable surface that actually fits the space you have.
In this guide, I’m skipping the over-engineered blueprints that require a degree in carpentry to follow. Instead, I’ll show you how to construct a solid, functional station using basic materials and a minimalist approach that won’t drain your bank account. We’re going to focus on the essential structural steps so you can stop working off your kitchen table and finally start building things that actually last.
Table of Contents
Guide Overview
Tools & Supplies
- Circular saw or miter saw for cutting lumber
- Power drill for driving screws
- Tape measure for accurate marking
- Speed square for ensuring 90-degree angles
- Level to ensure a flat work surface
- 4×4 lumber for legs (2 pieces, 8ft length)
- 2×4 lumber for frame and bracing (8 pieces, 8ft length)
- 3/4 inch plywood for tabletop (1 sheet, 4x8ft)
- 2.5 inch wood screws for assembly
- Wood glue for extra stability
Step-by-Step Instructions
- 1. First, you need to source your materials without breaking the bank. Don’t go chasing expensive hardwoods or specialty lumber; for a functional workspace, standard 2x4s and a sheet of 3/4-inch plywood are more than enough. I usually hit up a local hardware store and look for the straightest boards in the pile—if they’re bowed or twisted, put them back. You want a level foundation from the jump.
- 2. Measure twice, cut once, and actually stick to it. Use your notebook to sketch out a simple frame—nothing too fancy, just a rectangular base with cross-braces. When you’re at the saw, focus on making your cuts as square as possible. If your corners aren’t tight, the whole thing will wobble, and a wobbly workbench is just a glorified piece of junk.
- 3. Start assembling the base by screwing your 2×4 frame together. I prefer using a combination of wood glue and high-quality construction screws. The glue does the heavy lifting for long-term stability, while the screws keep everything in place while the bond sets. Don’t over-tighten them to the point where you crush the wood fibers; you just want a solid, rigid connection.
- 4. Once the frame is standing, it’s time to attach the top. Lay your plywood sheet across the frame and check for level one more time. I like to drive screws through the top into the frame, but make sure you countersink the heads slightly below the surface. This prevents the screw heads from catching on whatever you’re working on later, which is a minor detail that matters.
- 5. Add some bracing to the back or sides to stop any lateral movement. If you’ve ever pushed a heavy object across a table and watched the whole thing sway, you know why this is crucial. A simple diagonal brace or an extra set of 2×4 legs will make the structure feel permanently anchored to the floor.
- 6. Finally, give the surface a quick sand. You don’t need a professional finish, but you do want to remove any splinters or rough edges that could snag your clothes or your skin. If you have a bit of extra budget, you can apply a simple wipe-on polyurethane to protect the wood from spills, but honestly, a clean, sanded surface is the most important part.
Smart Woodworking Workbench Plans for Maximum Efficiency
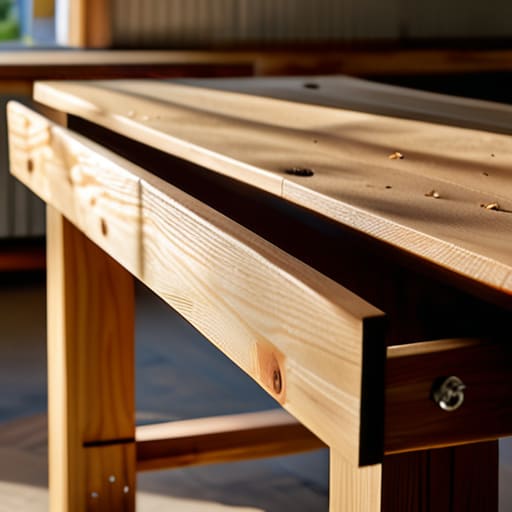
When you’re looking at different woodworking workbench plans, the biggest mistake is overthinking the complexity. You don’t need a multi-tiered masterpiece with built-in lighting to get started. What you actually need is a heavy duty workbench design that prioritizes mass and stability over fancy aesthetics. If the table wobbles when you’re sawing, you’ve already lost the battle. I always suggest focusing on a thick top and a wide stance; that weight is what absorbs the vibration and keeps your projects from sliding around while you work.
Instead of buying a pre-made kit, I prefer building from a basic workbench lumber list that focuses on structural integrity. Stick to dimensional lumber—it’s cheap, accessible, and easy to replace if you gouge it. My personal rule is to keep the surface clear of permanent clutter. Use the underside for workshop organization ideas like pegboards or simple French cleats rather than trying to cram everything onto the tabletop. This keeps your workspace functional and prevents your “system” from becoming a dumping ground for half-finished projects.
Sturdy Workbench Assembly Without the Wasted Effort
When you’re actually putting the pieces together, it’s easy to get caught up in the geometry and forget about the physics. A lot of people mess up their sturdy workbench assembly by over-tightening screws before the whole frame is square, which actually pulls the structure out of alignment. I’ve learned the hard way that you need to let the joints breathe a little during the initial setup. Use clamps to hold everything in place while you drive your fasteners, and don’t rush the leveling process. If your floor is uneven—which, let’s be honest, most apartment or garage floors are—your bench will wobble, and that’s a recipe for a ruined project.
Instead of chasing a complex heavy duty workbench design that requires specialized machinery, focus on the integrity of your connections. I prefer using wood glue in conjunction with structural screws; the glue does the long-term work of preventing movement, while the screws act as the temporary clamps that hold it all together while it cures. It’s a small, repeatable win that ensures your workspace stays solid for years without requiring a professional-grade shop.
Five Ways to Stop Your Workbench From Becoming a Total Mess
- Don’t overthink the height. If you’re standing to work, aim for your wrist bone; if you’re sitting, go lower. If you build it too high, you’ll end up with shoulder pain that makes you want to quit the project halfway through.
- Prioritize a flat surface over a pretty one. You don’t need expensive hardwoods. A thick sheet of plywood or even some MDF works fine, as long as it’s stable. You can always sand it down or replace a section later if you gouge it.
- Build in your storage as you go. I’ve seen too many people finish a beautiful bench only to realize they have nowhere to put their drill or their level. A few simple undershelf slats or a dedicated tool tray save you from the “where is my screwdriver?” spiral.
- Keep the footprint realistic. Just because you have a corner in your apartment doesn’t mean you need a massive industrial station. Measure your space twice, and remember that a smaller, highly functional bench is better than a huge one that leaves you tripping over it in the kitchen.
- Add a heavy-duty vise early. It’s the one tool that actually turns a tabletop into a workspace. If you can’t clamp your project down, you’re just fighting the wood instead of shaping it.
The Final Build
At the end of the day, building this workbench isn’t about following a blueprint to the letter or having a garage full of professional-grade power tools. It’s about the fact that you stopped making excuses and actually put together a functional foundation for your projects. We covered how to pick the right materials, how to prioritize stability over aesthetics, and how to assemble everything without turning your entire weekend into a massive, unorganized mess. By focusing on a design that works for your specific space and your specific tools, you’ve created a system that supports your creativity rather than adding to your mental clutter.
Don’t feel like you need to wait for the “perfect” moment or a bigger budget to start working on something meaningful. The goal here was to build a tool that serves your life, and now that it’s standing in your space, the real work begins. Use it, wear it down, and let it become a part of your process. A workbench isn’t just a piece of furniture; it’s a tangible commitment to your own ability to make things. Now, put the notebook away, pick up your tools, and actually start building something.
Frequently Asked Questions
Do I really need a power drill for this, or can I get away with just a manual screwdriver and some basic hand tools?
Look, you can absolutely get through this with a manual screwdriver, but let’s be real: you’re going to pay for it in wrist fatigue. If you’re building a heavy-duty workbench, driving dozens of long screws by hand is a grind that’ll make you want to quit halfway through. If you’re on a tight budget, find a cheap cordless drill at a thrift store or borrow one. It’s a tool that actually saves you time.
What kind of wood should I pick if I’m on a tight budget but don't want the whole thing to wobble after a month?
Skip the expensive hardwoods like oak or maple; you don’t need them for a functional setup. Go with construction-grade Douglas fir or pine from a local lumber yard. It’s cheap, easy to find, and plenty strong if you use it right. The trick to preventing that month-one wobble isn’t the wood type—it’s the thickness. Grab 2x4s for the frame and a thick piece of plywood for the top. Solid, heavy, and won’t break the bank.
How much space should I actually leave around the bench so I'm not tripping over my own feet while I work?
Don’t get boxed in. I’ve made the mistake of squeezing a bench into a corner only to realize I can’t even turn around once I’m holding a heavy piece of lumber. Aim for at least 3 feet of clearance on all sides. If you’re working in a tight apartment, prioritize the sides where you’ll be standing most. You need enough room to step back, pivot, and actually move without a constant obstacle course.

