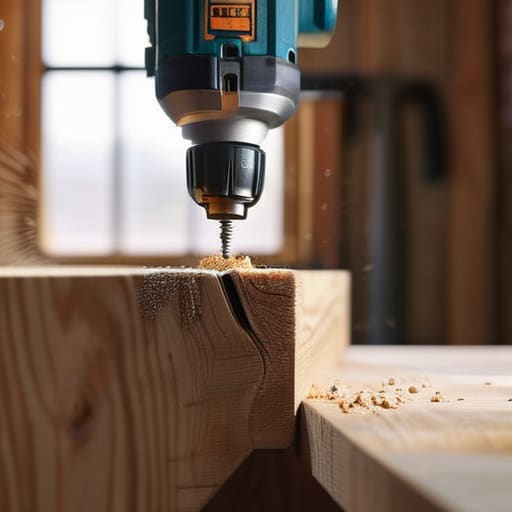
Everything You Need to Know About Using a Power Drill
I was sitting on my floor three years ago, staring at a piece of particle board and a handful of stripped screws, wondering why a twenty-dollar tool felt like it was actively fighting me. I had spent an hour trying to mount a single shelf, only to end up with a crooked mess and a headache. Most people think you need a workshop full of specialized gear to be “handy,” but the truth is that most of the struggle comes from not actually knowing how to use a drill with intention. You don’t need a degree in engineering; you just need to stop treating the tool like a blunt instrument and start treating it like an extension of your hands.
In this guide, I’m skipping the fluff and the overly technical jargon that makes DIY feel like a chore. I’ll show you the minimalist approach to getting holes straight, choosing the right bits without overthinking it, and maintaining control so you don’t ruin your furniture. My goal is to give you a repeatable system that gets your project finished in twenty minutes instead of two hours, leaving you more time to actually enjoy your space.
Table of Contents
Guide Overview
Tools & Supplies
- Power Drill (Cordless or corded drill)
- Drill Bit Set (Various sizes for drilling and driving)
- Safety Glasses (1 pair)
- Workpiece (Wood, metal, or plastic)
Step-by-Step Instructions
- 1. First, pick your bit. Don’t just grab the first thing you see in the plastic case; if you’re going into wood, use a wood bit, and if you’re hitting a wall, you need a masonry bit. Using the wrong one is the fastest way to ruin a perfectly good piece of timber or strip a screw until it’s useless.
- 2. Check your drill settings. Most people ignore the little symbols near the trigger, but they matter. If you’re driving a screw, switch to the clutch setting (the numbered ring) so you don’t over-torque it and crack the material. If you’re just making a hole, make sure it’s set to the drill icon.
- 3. Mark your spot. I always use my notebook’s pen to make a tiny dot exactly where I want the hole. If you’re working on something expensive, like a shelf or a piece of furniture, take a second to double-check your alignment before you even touch the trigger.
- 4. Get your grip right. Hold the drill like you mean it—one hand on the handle and your other hand supporting the back or the side to keep it steady. You want to apply even, firm pressure toward the surface, but don’t lean your entire body weight into it or you’ll slip and leave a scar on your wall.
- 5. Start slow. Don’t just yank the trigger like you’re racing a car. Squeeze it gradually to let the bit “bite” into the material. Once you feel it’s seated and you’re moving in a straight line, you can increase your speed to get through the rest of the hole.
- 6. Pull it out clean. When you’re done, don’t just yank the drill away while it’s still spinning. Back the bit out slowly while it’s still rotating to prevent the hole from splintering or tearing. It takes two extra seconds, but it keeps the finish looking professional rather than amateur.
Mastering Drill Bit Types and Uses Without the Stress
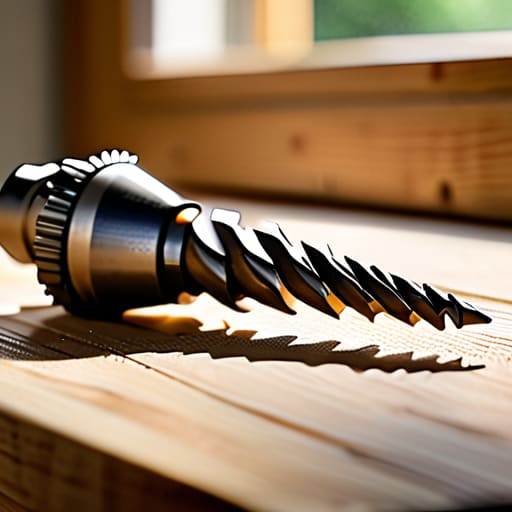
Most people walk into a hardware store and get paralyzed by the wall of shiny metal bits. Here’s the reality: you don’t need fifty different options; you just need to understand the basics of drill bit types and uses so you aren’t guessing. If you’re working on a bookshelf, grab a twist bit for wood. If you’re mounting something to a metal bracket, you’ll want a HSS (high-speed steel) bit. The biggest mistake I see is trying to force a wood bit into metal; it’ll dull the tip instantly, and you’ve just wasted money.
Once you have the right bit, the next hurdle is not stripping your screws or cracking your material. This is where adjusting drill torque settings becomes your best friend. If you’re driving a screw into a soft piece of pine, dial that torque down low. If the clutch slips, the drill stops spinning the bit but keeps the motor going, which prevents you from gouging the wood. It’s a small adjustment, but it’s the difference between a clean finish and a frustrating mess that requires a sander to fix.
Drilling Into Wood vs Metal Simple Systems for Success
The biggest mistake I see is treating every surface like it’s the same. If you try to tackle a piece of steel with the same aggressive energy you use for a pine plank, you’re going to burn out your bit and end up frustrated. When you’re drilling into wood vs metal, the fundamental difference is how you manage friction and speed. Wood is forgiving; it wants to let you in. You can go faster and apply more pressure to clear out the sawdust. Metal, however, is a different beast. It’s stubborn. You need to slow things down and let the bit do the work.
If you’re working with metal, stop trying to muscle through it. Instead, focus on adjusting drill torque settings and lowering your speed to prevent the metal from overheating. I usually apply a tiny drop of oil to the spot before I start—it sounds extra, but it keeps the bit sharp and saves you from a mid-project hardware store run. It’s about working smarter, not harder, so you can finish the job and get back to whatever you actually wanted to do today.
Five ways to stop making more work for yourself
- Mark your spot with a nail or an awl first. If you try to just press the bit into the surface, it’s going to wander, you’ll scratch your wall or your wood, and you’ll end up spending twenty minutes fixing a mistake that should have taken two seconds to prevent.
- Don’t go full throttle immediately. Start with a slow, steady squeeze on the trigger to get the hole started, then ramp up the speed once the bit has found its groove. It saves your hardware and keeps you from losing control.
- Check your torque settings before you start. There’s nothing more frustrating than tightening a screw halfway only to have the drill kick back and strip the head because you were set to “maximum power” for a tiny task.
- Keep your workspace clear of the small stuff. I’ve learned the hard way that drilling through a piece of wood with a stray screw or a loose coin underneath is a fast way to ruin a bit and ruin your afternoon.
- Listen to the tool. If the drill starts screaming or vibrating in a way that feels “off,” stop. Usually, it means you’re using the wrong bit or you’re pushing way too hard. Back off, adjust, and keep it simple.
Don't Let the Tools Win
At the end of the day, using a drill isn’t about having a garage full of expensive gadgets or memorizing an entire engineering manual. It’s about knowing which bit to grab for the job and having the patience to let the tool do the heavy lifting instead of forcing it. Whether you’re mounting a shelf in a tiny studio or fixing a loose hinge on a vintage cabinet, the goal is the same: minimal friction and maximum stability. Once you’ve mastered the distinction between wood and metal and learned to respect your grip, you stop seeing the drill as a source of anxiety and start seeing it as a simple extension of your hands.
I used to look at a power tool and see a way to potentially ruin a piece of furniture or a wall, but that mindset only makes tasks feel heavier than they actually are. My advice is to stop overthinking the “perfect” technique and just start building. You’re going to slip occasionally, and you might even strip a screw, but that’s just part of the process of maintaining your own space. The real win isn’t becoming a master carpenter; it’s having the autonomy to fix what’s broken so you can get back to living your life.
Frequently Asked Questions
How do I keep the drill from slipping and scratching my walls when I'm trying to hang something?
The easiest way to fix this is to stop relying on your eyes and start using a piece of painter’s tape. Just slap a small piece over your mark before you drill. It keeps the bit from skidding across the paint and gives you a tiny bit of grip. If you’re feeling fancy, a small nail driven in just a hair can act as a guide, but honestly, the tape is the low-effort win you need.
Is there a way to tell if I'm about to strip a screw head before I actually ruin it?
You’ll feel it in your wrist before you see it in the metal. If the drill suddenly feels “mushy” or the bit starts jumping out of the screw head instead of biting in, stop immediately. That slip is your warning. If you keep pushing, you’re just grinding the metal into dust. Back off, check your pressure, and make sure you’re using the exact right bit size. Better to pause for ten seconds than to spend an hour digging out a stripped screw.
How much torque do I actually need for basic apartment repairs versus heavy-duty DIY projects?
Look, you don’t need a beast of a drill just to hang a shelf or tighten a loose cabinet handle. For basic apartment fixes, a lightweight 12V drill is plenty—it’s easy to maneuver in tight spaces and won’t strip your screws. But if you’re planning on building a deck or drilling through thick masonry, you’ll want a 18V or 20V beast with high torque. Don’t overbuy for the small stuff; just buy for the hardest task you actually intend to do.

