Get Your Tile Looking New Again by Cleaning the Grout
I used to think that if my kitchen floor looked dingy, I just needed to buy more expensive, heavy-duty chemicals. I spent a decent chunk of my first freelance paycheck on these neon-colored, caustic cleaners that promised a miracle, only to realize I was just inhaling fumes and wasting my time. The truth about how to clean grout isn’t found in a specialized, overpriced bottle; it’s usually sitting in your pantry right now. You don’t need a chemistry degree or a weekend-long deep clean to fix those dark, grimy lines between your tiles.
In this guide, I’m breaking down a system that actually works without turning your Saturday into a chore. I’ll show you how to use basic household staples to lift the dirt and why consistency beats intensity every single time. We aren’t going to do any unnecessary scrubbing that leaves your back aching. Instead, I’m sharing the low-effort, high-impact methods I use to keep my own apartment looking sharp and functional on a budget. Let’s get into it.
Table of Contents
Guide Overview
Tools & Supplies
- Stiff grout brush or old toothbrush for scrubbing
- Microfiber cloth or sponge for wiping away residue
- Baking soda (1 cup)
- Warm water (as needed for paste)
- White vinegar (1/2 cup)
- Dish soap (a few drops)
Step-by-Step Instructions
- 1. Clear the deck. I’m not a fan of working around clutter, so move the bath mats, the trash cans, and anything else sitting on the floor. You want a clear workspace so you aren’t fighting the environment while you’re trying to focus on the task.
- 2. Grab your supplies. You don’t need a specialized, overpriced chemical kit from a big-box store. Just get some baking soda, white vinegar, an old toothbrush (or a stiff grout brush if you’re feeling fancy), and a bucket. Keeping it simple means you aren’t wasting money on stuff you’ll only use once.
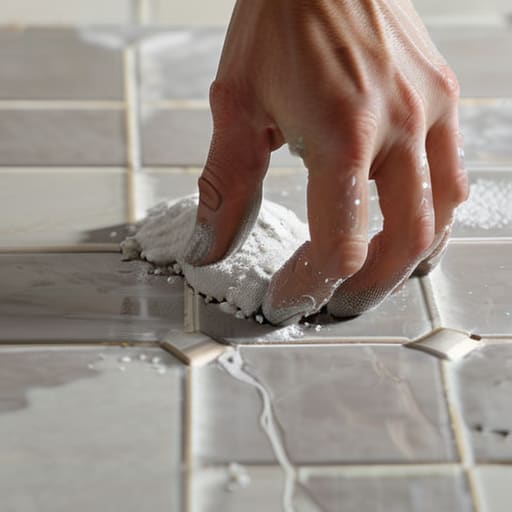
- 3. Make the paste. In a small bowl, mix your baking soda with just enough water to create a thick, spreadable consistency—think of it like toothpaste. If the grout is particularly nasty, you can add a splash of hydrogen peroxide to the mix to help brighten the color without the harsh fumes.
- 4. Apply and wait. Slather the paste over the grout lines. This is the most important part: don’t start scrubbing immediately. Let the mixture sit for about 10 to 15 minutes. This gives the chemistry time to do the heavy lifting so you don’t have to spend your afternoon breaking your back.
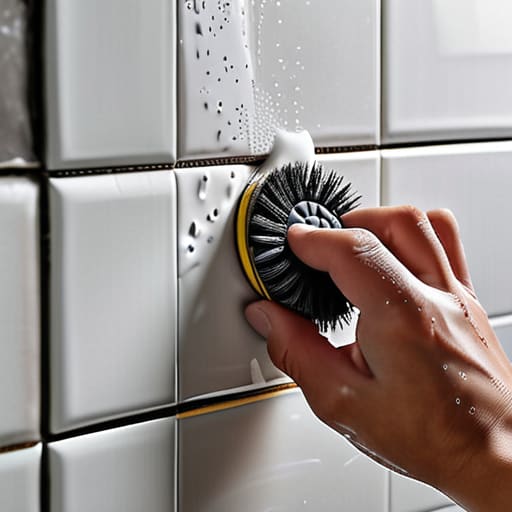
- 5. The gentle scrub. Take your brush and work in small, circular motions along the lines. You don’t need to apply massive amounts of pressure; let the paste do the work. If you hit a particularly stubborn dark spot, hit it with a quick spray of straight vinegar to reactivate the cleaning process.
- 6. Rinse and repeat. Use a damp microfiber cloth or a sponge to wipe away the sludge. I usually do this in sections so I don’t end up with a muddy mess drying on the floor. If a section still looks grey, just repeat the process once more.
- 7. Dry it out. Once the grout looks clean, wipe the whole area down with a fresh, dry cloth. Leaving moisture sitting in the grout can actually attract more dirt over time, so a quick dry is a small, repeatable win that keeps the floor looking sharp for much longer.
Finding the Best Grout Cleaner for Tile Without Overthinking
Look, you don’t need to spend forty minutes scrolling through Amazon reviews trying to find the “perfect” holy grail product. Most of the time, you’re just overcomplicating a simple problem. If you want to keep things minimal and budget-friendly, I usually lean toward natural grout cleaning solutions like a heavy-duty paste of baking soda and hydrogen peroxide. It’s cheap, it actually works, and you don’t have to worry about breathing in harsh chemical fumes in a small, unventilated bathroom.
If you’re dealing with something more stubborn, like black spots from removing mold from grout lines, that’s when you might want to grab a dedicated commercial cleaner. But even then, don’t go overboard. The goal isn’t to buy the most expensive bottle on the shelf; it’s to find something that cuts through the grime without eating away at your tile’s finish. Once the lines are actually clean, my real advice is to look into a quick grout sealer application. It’s a small, one-time extra step that prevents the dirt from sinking in deep in the first place, which means you won’t have to do this whole deep clean again nearly as often.
Natural Grout Cleaning Solutions That Actually Save You Time
If you aren’t looking to stock your cabinets with a dozen different chemical bottles, you don’t need to. I’ve learned through years of living in small spaces that the most effective tools are usually already in your pantry. For general maintenance, a simple mixture of baking soda and water into a thick paste works wonders. You apply it, let it sit for ten minutes, and then scrub. It’s one of the most reliable natural grout cleaning solutions because it provides enough grit to lift surface stains without being caustic.
When things get a bit more serious—like when you’re removing mold from grout lines in a humid bathroom—skip the mild stuff and go for straight white vinegar. The acidity handles the organic buildup that a standard wipe-down misses. Just be careful if your tile is natural stone, as vinegar can etch the surface; stick to it for ceramic or porcelain only. Once you’ve finished cleaning, don’t forget about grout sealer application. It’s a boring, twenty-minute task, but it’s the single best way to ensure you aren’t stuck deep-cleaning your floors every single month.
Five Ways to Keep Your Grout from Becoming a Weekend Project
- Stop the grime before it starts by sealing your grout. It’s a one-time annoyance that saves you months of scrubbing later; once it’s sealed, liquid and dirt just bead off instead of soaking in.
- Keep a stiff-bristled brush—not a toothbrush—in your cleaning kit. A toothbrush is too small and will just tire your wrist out; a dedicated grout brush gives you the leverage you need to get the job done in half the time.
- Work in small, manageable sections. If you try to tackle the entire bathroom at once, you’ll end up with half-dried, streaky mess. Do one wall or one patch of floor at a time so the cleaner stays wet while it works.
- Use a shop vac or a high-powered vacuum before you even touch water. If you start scrubbing over loose dust and hair, you’re just turning that dirt into a muddy paste that gets pushed deeper into the pores.
- Don’t obsess over perfection. If you’ve got a tiny bit of discoloration in a corner that no amount of vinegar can touch, let it go. Focus on the high-traffic areas that actually affect how your space feels, and save your energy for things that actually matter.
The Low-Maintenance Finish
At the end of the day, cleaning grout doesn’t need to be a deep-dive project that consumes your entire weekend. Whether you went with a heavy-duty commercial cleaner or stuck to the baking soda and vinegar method I mentioned earlier, the goal was simply to remove the grime that makes a room feel heavy. Remember: don’t overthink the tools, don’t spend more than twenty minutes on the actual scrubbing, and most importantly, don’t let the pursuit of perfection stop you from actually living in your space. Once the lines are clear, step back and let the work be done.
I spent a lot of my early twenties thinking that a “clean home” meant a sterile, museum-like environment that required constant vigilance. I was wrong. A functional home is one where you have systems in place that handle the mess without draining your mental battery. Keeping your grout clean is just one small, repeatable win in a larger strategy to maintain your environment without letting it own you. You’ve done the work, the floors look better, and now you can get back to whatever actually matters.
Frequently Asked Questions
How do I know if my grout is actually stained or if the color is just naturally dark?
The “Wet Test” is your best bet. Take a damp cloth and wipe a small, inconspicuous section of the grout. If the color lightens significantly while wet and then returns to that dark shade once it dries, you’re looking at deep-seated dirt or stains. If the color stays exactly the same whether it’s wet or dry, that’s just the pigment of the grout itself. Don’t waste your energy scrubbing a permanent color.
Is it safe to use these methods on natural stone like marble, or am I going to ruin the finish?
Stop right there. If you’re working with marble or limestone, do not touch those vinegar or lemon solutions. Acid eats natural stone for breakfast, and you’ll end up with permanent dull spots that no amount of scrubbing can fix. For stone, keep it dead simple: use a pH-neutral cleaner specifically made for stone. It’s a small extra step, but it’s way easier than replacing a ruined countertop. Play it safe.
How often do I actually need to do this to keep it from getting gross again?
Don’t turn this into a weekly ritual; that’s how you burn out. If you’re in a high-traffic area like a kitchen, a quick spray and wipe once a month keeps the grime from bonding to the surface. For bathrooms, once every two months is usually plenty. The goal isn’t perfection—it’s preventing the buildup that requires a deep scrub later. Keep it light, keep it consistent, and move on with your day.

