How to Easily Repair Scratches in Wooden Furniture
I was halfway through trying to stabilize a vintage synth cabinet last Tuesday when I realized I’d spent forty minutes staring at a jagged gouge in the veneer, wondering if I needed to buy a professional sander and a whole new set of stains. Most DIY tutorials make you feel like you need a workshop full of heavy machinery just to handle a minor surface scuff, but that’s a lie. Learning how to fix scratched wood shouldn’t feel like a weekend-long renovation project that leaves your apartment covered in dust. I grew up watching my mom patch up our thrifted dining table with whatever was in the junk drawer, and honestly, those low-effort fixes usually held up better than the expensive stuff.
In this guide, I’m skipping the fluff and the “expert” gear lists that nobody actually uses. I’m going to show you how to assess the damage and use simple, repeatable methods—from walnut trickery to basic wax sticks—to get your furniture looking solid again. My goal is to teach you how to fix scratched wood without draining your bank account or wasting your entire Saturday. We’re focusing on small, efficient wins that keep your space looking intentional and well-kept, so you can get back to your actual life.
Table of Contents
Guide Overview
Tools & Supplies
- Sandpaper (various grits for smoothing)
- Microfiber cloth (for cleaning debris)
- Wood filler or wax stick (small container)
- Wood stain or touch-up marker (1 unit)
Step-by-Step Instructions
- 1. First, clean the area. I’ve learned the hard way that trying to fix a scratch through a layer of dust or old furniture polish is a recipe for a messy, uneven finish. Take a slightly damp microfiber cloth and wipe down the surface, then let it dry completely. If there’s any sticky residue, use a tiny bit of mild soap, but don’t soak the wood.
- 2. Assess the depth of the damage. Run your fingernail across the scratch; if your nail catches deeply, you’re looking at a real gouge that might need a wood filler. If it’s just a surface-level scuff that hasn’t broken the finish, you can usually skip the heavy tools and stick to the quick fixes I mentioned earlier.
- 3. For light scratches, grab a walnut. This sounds like something my mom would do to save a buck, but it actually works because the natural oils in the nut act as a temporary sealant. Rub the meat of a halved walnut directly into the scratch with firm pressure. The oils will darken the exposed wood and help the scratch blend into the surrounding grain.
- 4. If the scratch is a bit more stubborn, use a furniture repair marker or a wax crayon that matches your wood tone. Don’t try to draw a perfect line; instead, dab the color in and then immediately buff it out with a clean cloth. You want the pigment to sit in the groove, not sit on top of the surface like a smear of crayon on a sidewalk.
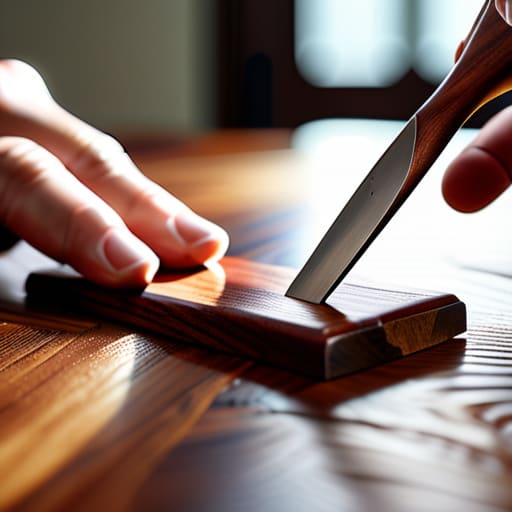
- 5. For deeper gouges that actually need filler, mix a small amount of wood filler with a tiny bit of the existing stain if you have it. Apply it using a putty knife—or even an old credit card if you’re in a pinch—and keep it level with the surface. Don’t overwork it; you want to fill the void, not create a mountain of goop that you’ll have to sand down later.
- 6. Once the filler or wax has set, it’s time for the final blend. Take a soft, dry cloth and buff the entire area in a circular motion. This helps even out the sheen so the repaired spot doesn’t look like a shiny, artificial patch against the rest of the matte or satin finish.
- 7. Step back and look at it from a distance. I’m not looking for perfection—I’m looking for functional invisibility. If it looks good enough that you aren’t staring at it every time you walk past, you’ve won. Now, put the tools away and get back to whatever you were actually doing.
Mastering Stain Matching for Wood Repairs Without the Headache
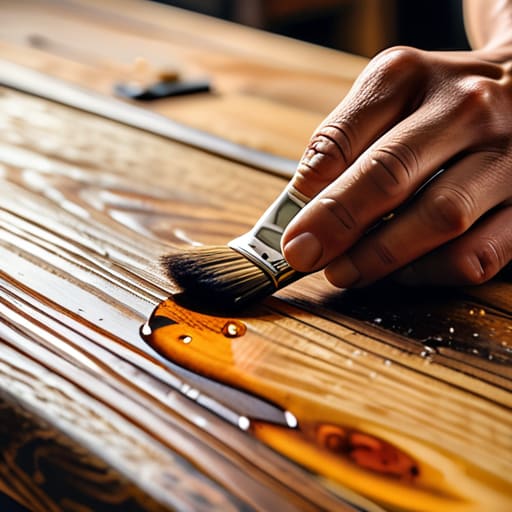
The hardest part isn’t the actual repair; it’s the fear that your “fix” will end up looking like a dark blotch on a light surface. When you’re working on stain matching for wood repairs, the biggest mistake is trying to hit the perfect shade on your first pass. Wood is porous and unpredictable. Instead of grabbing a heavy-duty stain, start with a shade lighter than you think you need. It is much easier to build depth by layering thin coats than it is to try and sand back a mistake that’s soaked too deep into the grain.
If you’re dealing with a larger gouge, your approach to restoring wood finish needs to be strategic. Don’t just glob on filler; use a palette knife to level it, then sand it flush once it’s bone dry. Once the texture is seamless, use a dry brush or a cloth to dab the color in. This mimics the natural way light hits the wood grain. The goal isn’t to make the piece look brand new—it’s to make the repair invisible to the casual eye so you can stop staring at the flaw and get back to actually using your furniture.
Efficient Wood Filler Application Techniques for a Seamless Finish
The biggest mistake I see people make is trying to be too precise with the filler. If you’re aiming for a perfectly level surface on the first pass, you’re just wasting time. Instead, aim to leave the filler slightly proud of the surface—meaning, a tiny bit higher than the surrounding wood. As it dries, it’s going to shrink, and if you start flush, you’ll end up with a divot that looks even worse than the original scratch. Use a stiff putty knife to press the material firmly into the grain; you want it to bond, not just sit on top.
Once it’s dry, don’t go overboard with the sandpaper. Use a fine-grit block to sand it down until it’s level with the rest of the piece. This is where most of the work in restoring wood finish happens. If you sand too aggressively, you’ll sand away the surrounding patina and create a “halo” effect around the repair. The goal is to focus on buffing out wood imperfections with minimal friction, keeping the transition between the filler and the original timber as invisible as possible.
Five ways to stop overcomplicating your repairs
- Don’t reach for the heavy-duty sandpaper first; most surface scratches just need a bit of friction and a walnut to buff them out.
- Keep a small kit of various wood markers on hand so you aren’t running to the hardware store every time you notice a scuff on your desk.
- Less is always more with wood filler; if you pack it on too thick, you’ll spend twice as much time sanding it down later.
- Test your stain or marker on the underside of the furniture or a hidden corner first—matching colors in your head is a trap.
- Clean the area with a damp cloth before you start any repair; trying to fix wood through a layer of dust is just asking for a messy finish.
The Long Game with Your Gear
At the end of the day, fixing scratched wood isn’t about achieving factory-perfect, showroom quality; it’s about stopping the decay. Whether you’re using a bit of walnut to mask a surface scuff or carefully working wood filler into a deeper gouge, the goal is to interrupt the damage before it requires a full, expensive refinish. Remember that stain matching is a game of patience, not perfection, and a seamless finish comes from small, controlled applications rather than trying to fix everything in one heavy-handed pass. Keep your tools organized, your filler minimal, and your expectations realistic.
We live in a throwaway culture that tells us to just buy something new the second our belongings show a little wear. I refuse to buy into that. Taking twenty minutes to patch up a desk or a side table isn’t just a way to save money—it’s a way to reclaim agency over your environment. When you maintain the things you already own, you stop being a passive consumer and start being a steward of your own space. It’s a small, repeatable win that keeps your apartment looking intentional and your bank account intact. Fix the scratch, keep the piece, and get back to your life.
Frequently Asked Questions
What if I can't find a stain that actually matches the wood I already have?
If you’re staring at a shelf of stain samples and nothing looks right, stop buying more. You’re just wasting money and shelf space. Instead, try the “layering method.” Start with a lighter shade than you think you need and build it up in thin, controlled coats. It’s easier to add color than to strip it back. If that fails, grab a furniture marker or even some coffee grounds for a quick, temporary fix.
Is it worth trying to fix a deep gouge, or should I just accept that the piece is permanently damaged?
Look, don’t let a deep gouge make you feel like the whole piece is trashed. It’s usually worth the effort, but you have to be strategic. If it’s a structural part of the furniture, fix it. If it’s just a cosmetic dent on a cheap veneer, maybe let it go. My rule: if the repair takes longer than the joy the piece brings you, skip it. Otherwise, fill it, stain it, and move on.
How do I know if I need to sand the whole surface down or if I can just spot-treat the scratch?
Look, don’t default to a full sand unless you absolutely have to. It’s a massive time sink. If the scratch is just a surface-level scuff or a shallow gouge, spot-treating is your best friend. But if the wood is peeling, the finish is cracked across the whole piece, or the scratch is deep enough to feel a structural dip, you’ll need to sand the area down. Otherwise, your patch will just look like a scar.

