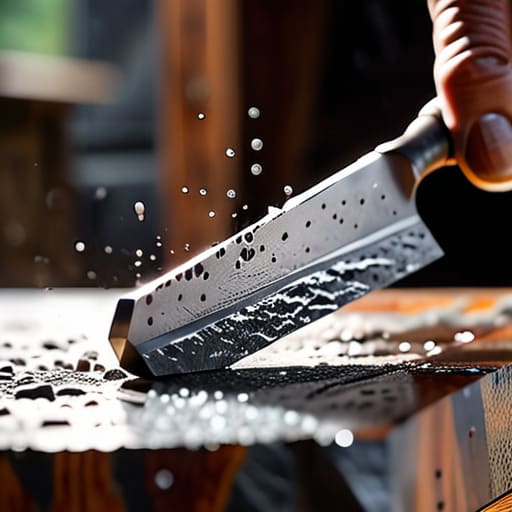
Keep Your Tools Sharp and Ready for Any Task
I was halfway through trying to sand down a loose cabinet door in my apartment when the screwdriver slipped, gouging a fresh line into the wood because the tip was rounded and useless. It’s that specific, sinking feeling—the realization that you aren’t actually working, you’re just fighting your equipment. Most people think you need a massive, expensive workshop setup or a degree in metallurgy to fix this, but that’s a lie. Learning how to sharpen tools isn’t about mastering a complex craft; it’s about realizing that a dull blade is just a broken system that wastes your time and your energy.
I’m not going to bore you with twenty different specialized stones or high-end industrial techniques that you’ll never use. Instead, I want to show you a few low-effort, high-impact methods that actually work for a busy life. We’re going to focus on the minimalist essentials—the specific movements and basic gear that will get your knives, screwdrivers, and shears back to a functional edge in minutes. My goal is to help you stop struggling with blunt edges so you can get back to actually building things.
Table of Contents
Guide Overview
Tools & Supplies
- Kitchen knife (Standard steel blade)
- Garden shears (Bypass style)
- Whetstone (Double-sided grit) 1 unit
- Honing rod (Ceramic or steel) 1 unit
- Lubricant (Water or honing oil) 1 bottle
- Microfiber cloth (Cleaning) 1 unit
Step-by-Step Instructions
- 1. First, you need to clear some space on your workbench or kitchen table. You don’t need a professional workshop, but you do need a flat, stable surface where you won’t accidentally slide the tool across the room mid-stroke. If you’re working on a countertop, lay down a piece of scrap wood or a thick towel to protect the finish and keep the tool from slipping.
- 2. Grab your sharpening stone and soak it. If you bought a whetstone, it probably needs a good soak in a bowl of water for about ten minutes until the bubbles stop rising. This isn’t just some ritual; it’s about creating a slurry of water and stone grit that actually does the work for you. If you’re using an oil stone, skip the water and use a few drops of honing oil instead.
- 3. Identify the bevel. Every tool has an angle where the metal meets the edge, and you need to respect that angle or you’ll spend twenty minutes just trying to find the edge again. For most kitchen knives or basic woodworking chisels, that’s usually around 20 degrees. I usually use a little scrap piece of wood as a physical guide to make sure I’m not tilting the blade too high or too low.
- 4. Start with the coarse side of the stone. Hold the tool at your chosen angle and apply light, even pressure, moving the edge across the stone in a consistent, sweeping motion. Don’t try to rush this. It’s better to do ten slow, deliberate strokes than fifty frantic ones that leave the edge uneven and jagged.
- 5. Listen for the “burr.” As you sharpen, you’ll eventually feel a tiny, microscopic lip of metal curling over the opposite side of the edge. This is called a burr, and it’s your signal that you’ve actually done something. Once you feel that slight roughness along the entire length of the blade, you know you’re ready to move on to the refinement stage.
- 6. Switch to the fine-grit side of the stone to polish the edge. This is where you transition from “fixing a dull tool” to “creating a precision instrument.” Use much lighter pressure here—think of it more like buffing a surface rather than grinding metal. This step removes the microscopic imperfections left by the coarse stone and gives you that clean, surgical finish.
- 7. Test the edge, but don’t be reckless. A quick, gentle slice through a piece of scrap paper or a ripe tomato is usually enough to tell if you’ve succeeded. If the paper tears, you haven’t finished the polishing phase; if it slices through like butter, your system worked. Clean the tool thoroughly with a rag to remove any leftover grit before you put it back in its place.
Mastering Whetstone Sharpening Techniques Without the Wasted Effort
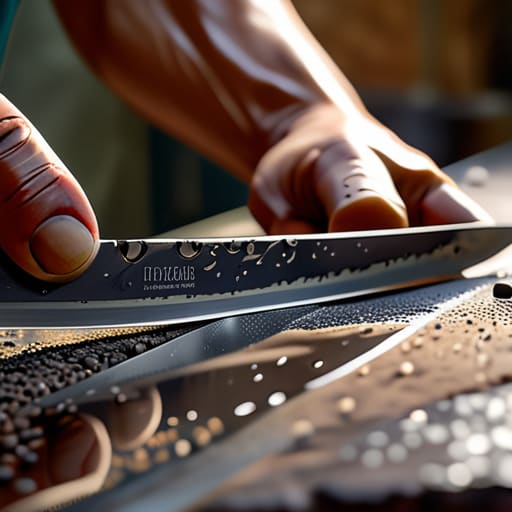
Most people approach a whetstone like they’re trying to scrub a floor—lots of frantic, heavy pressure and zero direction. That’s the fastest way to ruin a good blade. If you want to actually master whetstone sharpening techniques, you have to stop fighting the stone and start working with it. The secret isn’t strength; it’s consistency. Focus on finding a steady sharpening angle for different tools—usually around 15 to 20 degrees for most kitchen knives—and hold it there like your life depends on it. If your angle wobbles, your edge will be uneven, and you’ll just be spinning your wheels.
Also, don’t fall into the trap of thinking a honing steel is a magic wand. There is a massive difference between honing steel vs sharpening stone; a steel just realigns a folded edge, while a stone actually removes metal to create a new one. If your tool feels truly dull, skip the steel and go straight to the stone. Once you’re done, don’t just toss your tools in a damp drawer. Wipe them down and apply a tiny drop of oil to ensure you’re preventing rust on metal tools before they even have a chance to oxidize.
Choosing the Best Sharpening Accessories for Diy Success
You don’t need a professional workshop to get decent results, but you also shouldn’t be buying cheap, flimsy gear that ends up in a landfill after one use. When I’m looking for the best sharpening accessories for DIY projects, I prioritize versatility over sheer volume. A decent combination water stone is usually my baseline. Unlike those cheap diamond plates that feel like sandpaper on a brick, a good quality stone allows you to actually feel the edge forming. It’s about feedback; if you can’t feel the metal biting into the stone, you’re just wasting energy.
One common mistake I see is people getting confused by honing steel vs sharpening stone usage. A honing steel isn’t a magic wand that fixes a dull blade; it’s for realigning an edge that’s already decent. If your knife is truly blunt, leave the steel in the drawer and get back to the stone. Also, don’t overlook the small stuff. A simple container of mineral oil is essential for preventing rust on metal tools once you’ve finished the job. Keeping your gear dry and oiled is just as important as the sharpening itself if you want your tools to actually last.
5 ways to keep your edge without making it a whole thing
- Stop treating sharpening like a weekend project; check your blades every few uses so you’re only ever doing five minutes of touch-ups instead of a full overhaul.
- Learn the “feel” of the burr rather than staring at the metal; once you feel that tiny lip of steel curling over the edge, you’re done, and you can stop wasting energy.
- Don’t go overboard with the fine grits too early; if you skip the coarse grit when the edge is actually chipped, you’re just polishing a dull blade.
- Keep your workspace organized with a dedicated “sharpening tray” or even just a small towel; hunting for a stray stone or a cleaning rag mid-task is how you lose momentum.
- Clean your tools immediately after sharpening; metal dust and grit are fine for the stone, but they’ll ruin your joints and your cuts if they stay on the blade.
Don't let your tools work against you
At the end of the day, sharpening isn’t about achieving some professional craftsman’s perfection; it’s about removing the friction from your projects. You’ve learned how to pick the right accessories, how to use a whetstone without wasting half your afternoon, and how to maintain an edge that actually lasts. By integrating these small maintenance habits into your routine, you stop fighting your equipment and start actually working with it. It’s a simple shift from being someone who struggles with blunt gear to someone who owns tools that perform exactly how they should every single time you pick them up.
I spent years trying to force projects to work with subpar equipment, thinking that was just part of the grind. It wasn’t. Taking ten minutes to sharpen a blade or a chisel isn’t a chore—it’s an investment in your own sanity and the quality of your output. You don’t need a massive workshop or a mountain of expensive gear to build a functional life; you just need the stuff you have to work for you. Keep your tools sharp, keep your systems simple, and stop making life harder than it needs to be.
Frequently Asked Questions
How often do I actually need to do this without turning it into a weekend-long chore?
Don’t turn this into a project. If you wait until the tool is blunt, you’re already fighting a losing battle. Instead, make it a habit to do a quick pass on your most-used blades every few weeks—maybe while you’re already cleaning your workspace. If you use something daily, check it once a month. It takes two minutes of focused effort, which is a lot better than spending an hour struggling with a dull knife later.
Is it worth buying a professional sharpening kit, or can I just get by with what I have in my junk drawer?
Look, if you’re just trying to get a kitchen knife through a tomato, your junk drawer might save you. But if you’re actually working on projects—fixing furniture or DIYing around the apartment—don’t bother with the cheap, flimsy stuff. You don’t need a massive, professional-grade kit that collects dust, but you do need one decent whetstone. Invest in one solid tool that works instead of five mediocre ones that just frustrate you.
How do I know if a tool is actually sharp or if I'm just convincing myself it is?
Stop guessing. If you’re sweating through a cut or having to force the blade through a piece of cardboard, it’s not sharp. I usually use the paper test: grab a single sheet of printer paper and try to slice through the edge. If it catches, tears, or drags, you’re fighting the tool. A truly sharp edge should glide through with zero pressure. If you have to push, go back to the stone.

