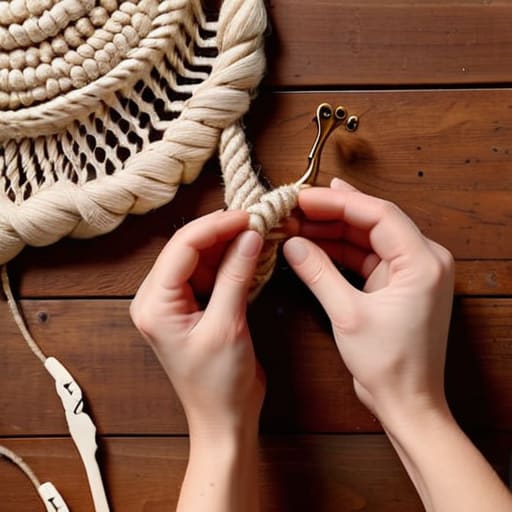
Learn Macramé: How to Knot Your First Wall Hanging
I spent three hours last Tuesday staring at a tangled mess of cotton cord on my floor, feeling like an absolute idiot because a YouTube tutorial promised I’d have a plant hanger finished by dinner. Most people think you need a massive kit, a dedicated craft room, and a mountain of patience to get into macrame for beginners, but that’s a lie. In reality, most of those elaborate patterns are just unnecessary complexity designed to sell you more supplies. I grew up in a house where we didn’t have room for “projects” that just sat there collecting dust, so I learned quickly: if a hobby feels like a chore, you’re doing it wrong.
In this guide, I’m stripping away the fluff to show you how to actually use this skill to upgrade your space without turning your living room into a textile factory. We aren’t going to spend weeks mastering fifty different knots; instead, I’ll teach you the three essential knots that cover 90% of everything you’ll ever want to make. You’ll learn how to pick functional materials, set up a workspace that doesn’t take over your life, and build a repeatable system for creating decor that actually looks intentional.
Table of Contents
Guide Overview
Tools & Supplies
- Scissors for clean cord cuts
- Measuring tape to ensure even lengths
- Cotton macrame cord (3mm or 4mm) 1 bundle
- Wooden dowel or ring 1 piece
Step-by-Step Instructions
- 1. First, don’t go out and buy a massive, overpriced “beginner kit” from a big-box retailer. Most of those are filled with junk you won’t use. Just grab a roll of 3mm or 4mm single-twist cotton cord and a pair of sharp scissors. If you’re serious about not wasting money, check a local thrift store for some sturdy wooden dowels or even a cool-looking branch from outside to use as your base.
- 2. Set up a workspace that won’t drive you crazy. You need something to hold your cord while you work, otherwise, you’ll spend half your time chasing strings across the floor. I usually just use a piece of heavy tape to secure my dowel to the edge of my desk, or if I’m feeling fancy, a cheap S-hook on a command hook. The goal is stability, not perfection; you want your hands free to actually move the cord.
- 3. Learn the “Lark’s Head Knot” first. This is how you actually attach your cord to your dowel or ring. Fold your cord in half, lay the loop over the rod, and pull the two loose ends through that loop. It’s the foundation for almost everything else. Do this a few times until you can do it without looking at your hands; it should become muscle memory pretty quickly.
- 4. Master the Square Knot. This is the bread and butter of macrame and the only reason you’re here. You’ll need four strands of cord to do it right. It looks a bit intimidating in videos, but it’s just a repetitive pattern of over, under, and through. Don’t worry about making every single one look identical on your first try; just focus on the rhythm of the movement so you don’t lose your place.
- 5. Keep your tension consistent, but don’t overthink it. If you pull one knot way tighter than the one above it, your project is going to look wonky and lopsided. I’ve learned the hard way that if you’re fighting the cord, you’re pulling too hard. Aim for a steady, even tension that keeps the pattern looking clean without making your hands ache.
- 6. Once you’ve finished your pattern, it’s time for the “trim.” This is where most people mess up by cutting too short. Use your scissors to trim the bottom of your project to your desired length, but leave a little extra breathing room at the end. If you want a fringed look, untwist the ends of the cord with your fingers to create that soft, textured bottom that makes macrame look actually professional.
The Essential Macrame Supplies You Actually Need
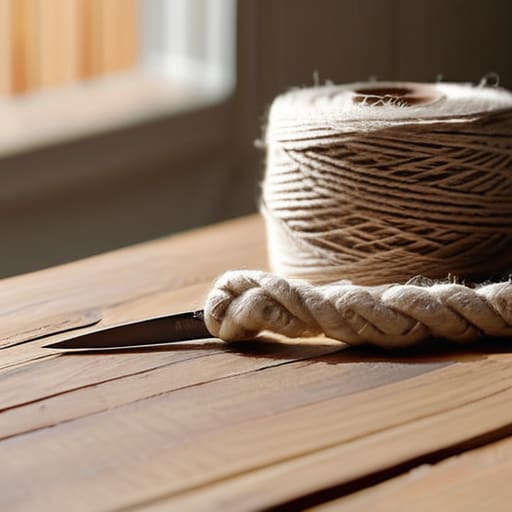
Look, you don’t need a dedicated studio or a massive bin of specialty fibers to get started. Most people make the mistake of buying a huge, expensive kit with twenty different colors they’ll never use. Save your money. To keep things simple, focus on just a few essential macrame supplies: a decent pair of sharp scissors, a wooden dowel or a fallen branch from outside, and some masking tape to hold your work in place while you knot.
When it comes to the cord itself, don’t get paralyzed by the options. There are dozens of macrame cord types out there, but for your first few attempts, stick to a 3mm or 4mm single-strand cotton cord. It’s forgiving, easy to manipulate, and won’t fray into a mess while you’re trying to master the square knot technique. If you go too thin, you’ll lose your mind trying to see the tension; if you go too thick, your hands will cramp up before you finish a single row. Just grab a neutral, single-twist cotton and get moving.
Mastering the Square Knot Technique Without the Stress
The square knot is the backbone of almost every project you’ll attempt, but it’s also where most people get frustrated and quit. The trick isn’t about having “magic hands”; it’s about tension control. If you pull one side harder than the other, your work will look wonky and lopsided. I used to struggle with this until I realized I was treating the cord like a piece of string rather than a structural element. When you’re working through this square knot technique, focus on keeping your working cords consistent. If they feel loose, your pattern will sag; if they’re too tight, you’ll lose the rhythm.
Don’t get bogged down trying to make every single knot a masterpiece of perfection. Instead, aim for predictable consistency. If you’re looking at various macrame project ideas for novices, you’ll notice that the best-looking pieces aren’t the most complex ones, but the ones where the spacing is even. Keep your workspace clear, grab your notebook to track your progress, and remember that a few uneven knots won’t ruin a wall hanging. It’s just part of the process of building a system that works.
5 Ways to Keep Macrame From Becoming a Messy Time-Sink
- Stop buying every color of cord you see. Stick to one neutral, high-quality cotton rope for your first three projects. It’s easier on the eyes, easier on your budget, and you won’t feel like you’re cluttering your space with unfinished, neon-colored experiments.
- Don’t go overboard with the hanging hardware. A simple wooden dowel or even a sturdy fallen branch from a walk is plenty. You don’t need a professional studio setup to make something that looks intentional in your living room.
- Work on a dedicated surface, not your lap. If you’re trying to knot while sitting on the couch, your tension will be inconsistent and you’ll end up frustrated. Use a small table or a heavy-duty command hook on a door so you can actually see the geometry of what you’re doing.
- Embrace the “good enough” tension. Beginners often obsess over making every knot identical. If your tension varies slightly, it adds character. Don’t spend forty minutes fighting a single knot; move on to the next sequence and keep the momentum going.
- Set a timer, not a goal. Instead of saying “I’m going to finish this wall hanging tonight,” tell yourself “I’m going to do twenty minutes of knotting.” It prevents the hobby from feeling like a chore and stops you from burning out before the project is even halfway done.
Stop Aiming for Perfection
Look, you don’t need a studio full of expensive driftwood or a dozen different types of specialty cord to get started. We’ve covered the essentials: grab a decent cotton cord, learn the square knot until your hands can do it without thinking, and stop overthinking the aesthetics. The goal here isn’t to produce a museum-quality piece of art on your first try; it’s about building a repeatable skill that lets you customize your space on your own terms. If a knot looks a little wonky or your tension is uneven, just keep moving. The most important part of this system is that it’s low-maintenance and high-reward, giving you something tactile to do without it becoming another chore on your to-do list.
At the end of the day, macrame is just another tool in your kit for making a rental or a cramped apartment feel like it actually belongs to you. Don’t let the fear of a messy first attempt keep you from starting. You aren’t trying to launch a side hustle or master a complex craft; you’re just making something useful with your own two hands. Once you get the rhythm down, you’ll realize that small, consistent wins are much more satisfying than chasing some impossible standard of perfection. Grab your cord, find a corner of your desk, and just start knotting.
Frequently Asked Questions
How do I figure out how much cord I actually need so I don't end up halfway through a project with no materials left?
The “math” part of DIY is where most people lose momentum. Don’t try to calculate every single knot; you’ll go insane. A solid rule of thumb for most wall hangings is to cut your cord into lengths four times the desired finished length of the piece. If you’re making something dense, grab an extra spool. It’s better to have a leftover coil for your next project than to stare at a half-finished mess because you ran out of cotton.
Is there a way to make these pieces look intentional and modern instead of like something my aunt would hang in her living room?
The “auntie vibe” usually comes from too much fluff and beige cotton. To make it look intentional, lean into minimalism. Stick to a tight, limited color palette—think charcoal, forest green, or even raw jute—and keep your patterns geometric rather than chaotic. Most importantly, don’t overdo the fringe. A clean, structural piece with controlled tension looks like modern decor; a massive, sprawling tangle of knots just looks like clutter.
How do I clean or maintain my macrame pieces without them getting all dusty or losing their shape?
Don’t go overboard with a vacuum; you’ll just fray the cords. For dust, a quick pass with a lint roller or a soft makeup brush works wonders. If it’s looking limp, don’t re-knot everything. Just hang it up and use a handheld steamer to gently relax the fibers back into place. Keep it away from direct sunlight or humid bathrooms—that’s how you end up with faded, misshapen junk. Keep it simple.

