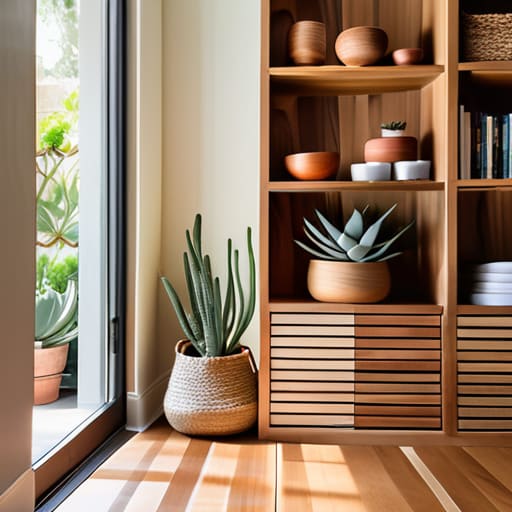
Maximize Your Space With Clever Diy Storage Hacks
I spent most of my childhood watching my mom try to make sense of a two-bedroom apartment that felt more like a Tetris game gone wrong. I remember the specific, frustrating sound of plastic bins scraping against linoleum and the sight of “organization systems” that looked great in magazines but fell apart the second you actually tried to use them. Most people will tell you that you need a massive budget or a garage full of power tools to master diy storage solutions, but that’s a lie designed to sell you more stuff you don’t need. If a solution requires a three-hour assembly manual and a specialized toolkit, it isn’t a system—it’s a chore.
I’m not here to pitch you some aesthetic lifestyle overhaul that consumes your entire Saturday. Instead, I want to show you how to build functional, low-maintenance setups using things you likely already have or can grab for a few bucks at a hardware store. We’re going to focus on small, repeatable wins that actually reclaim your floor space without draining your bank account. My goal is to help you create a home that works for you, rather than forcing you to spend your limited free time managing your clutter.
Table of Contents
Small Apartment Storage Hacks That Actually Stick
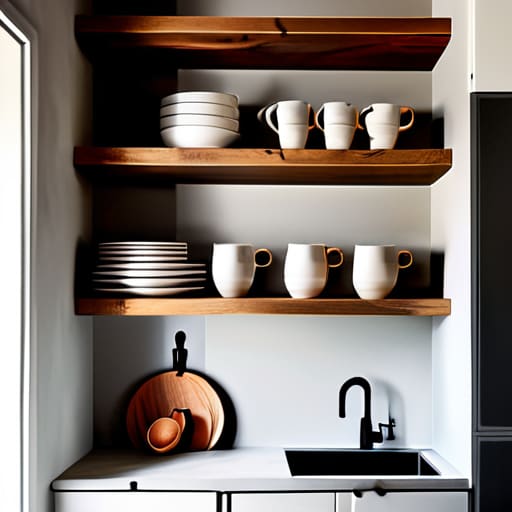
The biggest mistake I see people make is trying to buy their way out of a small space. You don’t need a massive IKEA haul; you need to stop letting your stuff claim territory it hasn’t earned. Start with your vertical space. Most of us leave the top six inches of our walls completely useless. I like to use simple, budget friendly shelving projects—think sturdy wooden planks and basic brackets—to get books and kitchen supplies off the counters and up toward the ceiling. It clears the visual noise and actually makes the room feel bigger.
Another move is looking at what you already own through the lens of repurposed container ideas. I’ve spent more time than I’d like to admit turning old glass jars into pantry organizers or using sturdy wooden crates as makeshift side tables. These aren’t just about saving money; they’re about creating space saving organization tips that actually fit your specific weird corners. If a system requires you to move ten different things just to find your keys, the system is broken. Keep it tactile, keep it visible, and keep it simple.
Budget Friendly Shelving Projects for Minimalist Living
If you aren’t looking to drop a paycheck on custom built-ins, look at what you already have. I’ve spent a lot of time scavenging for parts when restoring old gear, and that same logic applies to your walls. One of my favorite budget friendly shelving projects involves using old wooden crates or even sturdy, reclaimed timber. Instead of buying a massive, heavy bookshelf that eats up floor space, I prefer mounting floating shelves using simple L-brackets. It keeps the footprint minimal and lets the room feel much larger.
The trick to making these look intentional rather than “cluttered” is staying disciplined with what you actually put on them. I usually stick to a one-in, one-out rule to prevent these shelves from becoming junk magnets. If you’re working with a tight corner, try vertical stacking. By utilizing the height of your walls, you’re employing some of the most effective space saving organization tips without needing a single power tool more than a drill. It’s about creating a system that holds your life, not just your stuff.
Five Low-Lift Ways to Reclaim Your Space
- Stop buying “matching” sets. Most of those expensive organizational kits are just aesthetic clutter that won’t actually fit your specific shelves. Instead, grab a few heavy-duty, uniform bins from a hardware store; they’re cheaper, tougher, and you can actually stack them without worrying about them warping.
- Use the “vertical rule.” If you aren’t using the space between the top of your dresser and the ceiling, you’re wasting prime real estate. Get some simple floating shelves or even just a sturdy tension rod to hang things—it gets the visual noise off your floor and surfaces.
- The “one-in, one-out” rule isn’t just for clothes. If you decide to build a new shelf for your books or gear, you have to clear out something else first. Don’t let your new DIY projects become just another way to hide more junk.
- Label everything, but keep it low-key. I use a simple label maker or even just masking tape and my black pen to mark what’s in my bins. If you don’t know exactly what’s in a box, you’ll end up digging through it, making a mess, and eventually giving up on the system entirely.
- Prioritize “active” storage. If you use it every day—like your keys, wallet, or headphones—it needs to be in a designated spot right by the door. If you have to go into a closet to find your essentials, your system has already failed.
Final Thoughts on Building Your System
At the end of the day, the goal here wasn’t to turn your apartment into a showroom or to spend your entire Saturday at a hardware store. We looked at how small-scale shelving and smart, vertical storage can reclaim your floor space without draining your bank account. Whether you’re using repurposed crates or just setting up a few dedicated bins for your essentials, the point is to create a functional flow that works for your specific layout. Don’t feel like you need to tackle every corner of your home at once; just pick one area that’s currently causing you friction and apply one of these systems to it.
I know how it feels to live in a space that feels like it’s closing in on you because everything is out of place. But remember, your home should be a tool that supports your life, not a series of chores that demand your constant attention. You don’t need a massive renovation or a huge budget to find some breathing room. Start small, keep your solutions low-maintenance, and focus on the small, repeatable wins that make coming home feel like a relief rather than a task. You’ve got this.
Frequently Asked Questions
How do I know which materials are actually durable enough to hold my stuff without breaking after a month?
Don’t just trust the “heavy duty” label on a box at the hardware store. I always use the weight test: if you can lift a piece of wood or a shelf bracket with one finger and it feels like hollow plastic, it’s not going to hold your books or kitchen gear. For real durability on a budget, stick to solid pine or birch plywood. If it feels substantial and has some actual grain, it’ll actually last.
I don't own a drill or a saw; are there ways to do this using just basic hand tools or even no tools at all?
Honestly, you don’t need a workshop to make this work. I spent my childhood fixing things with whatever was in the junk drawer, so I get it. Skip the power tools and go for tension rods in doorways or window frames—they hold weight and require zero holes. Command hooks are your best friend for hanging bags or light shelving, and heavy-duty stacking bins can create vertical storage without a single screw. Keep it simple.
How do I stop these DIY projects from just becoming more "clutter" that I have to clean around later?
The trap is thinking a new shelf solves a clutter problem. It doesn’t; it just gives the clutter a new place to sit. Before you buy a single piece of wood, do a hard audit. If you don’t have a specific “home” for an item, don’t build a home for it. Only build storage for things you actually use. If the project doesn’t simplify your movement through the room, it’s just more stuff to manage.