The Art of Making Soup From Random Fridge Scraps
I grew up in a space where a single broken burner or a missing ingredient wasn’t just an inconvenience; it was a crisis. I remember watching my mom turn a handful of wilting greens and a half-empty can of beans into something that actually felt like a meal, all while she was working double shifts. Most “gourmet” food blogs try to convince you that learning how to make soup requires a $50 stock reduction, a mirepoix cut with surgical precision, and three hours of your life you’ll never get back. That’s not cooking; that’s a performance. To me, real cooking is about resourcefulness, not following a rigid, expensive script that assumes you have endless time and a pantry full of specialty spices.
I’m not here to give you a recipe that requires a culinary degree. Instead, I want to show you a repeatable system for building flavor using whatever is actually in your fridge right now. We’re going to focus on a few low-effort frameworks that prioritize nutrition and taste without turning your kitchen into a disaster zone. My goal is to help you master the basics so you can stop scrolling through recipes and start actually eating well.
Table of Contents
Mastering Soup Base Ingredients Without the Grocery Store Markup
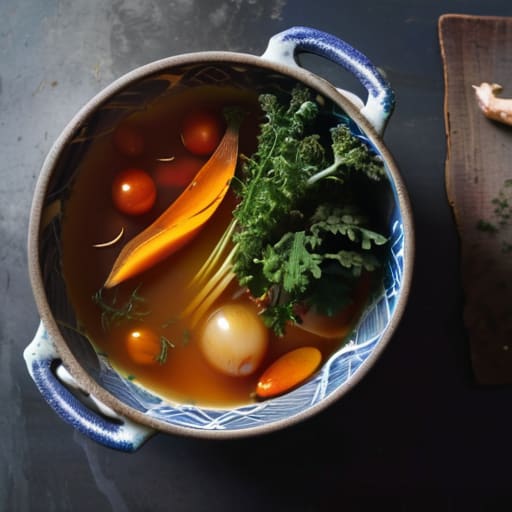
The biggest mistake I see people make is running to the store for those overpriced, sodium-heavy cartons every time they want a warm meal. If you want to save money and actually control what goes into your body, you need to master the basics of vegetable soup fundamentals using what you already have in your pantry or the bottom of your crisper drawer. Scraps aren’t trash; they’re assets. Onion skins, carrot ends, and celery tops can be simmered in water to create a foundation that puts store-bought versions to shame.
When you’re deciding between stock vs broth for soup, remember that the difference is mostly about clarity and fat content. Stock is built for depth and body, while broth is lighter. For a more efficient system, I keep a dedicated bag in my freezer specifically for these scraps. Once it’s full, I boil it down, strain it, and keep the liquid in jars. It’s a small, repeatable win that turns “nothing to eat” into a high-quality meal without the grocery store markup.
Stock vs Broth for Soup Choosing Your Efficiency Engine
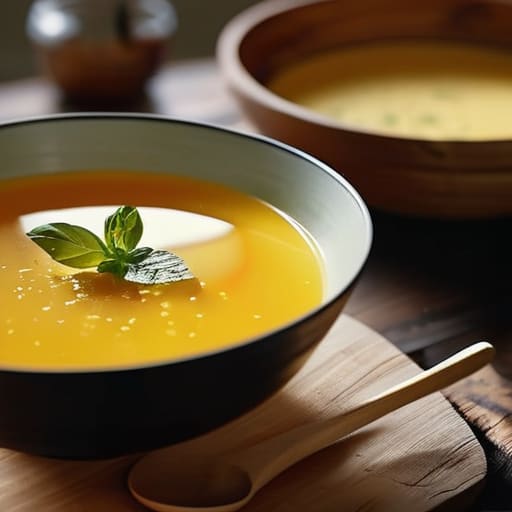
Most people treat the choice between stock and broth like a high-stakes culinary debate, but in my kitchen, it’s really just about deciding which engine you want running your meal. If you’re looking for a heavy lifter, go with stock. It’s made from bones, meaning it has more gelatin and body. This is your go-to when you want to focus on thickening soup naturally without adding a ton of extra starch or flour. It provides that rich, mouth-coating texture that makes a simple meal feel intentional.
On the flip side, broth is lighter and thinner because it’s usually just simmered vegetables or meat scraps. Think of broth as the fast-moving lubricant for your recipe; it’s great for lighter, more delicate meals where you want the individual flavors of your veggies to shine rather than being drowned out by a heavy base. When navigating stock vs broth for soup, don’t overthink the “correct” choice. Just pick the one that matches the weight of the ingredients you’ve already prepped. If you’re building a hearty stew, grab the stock. If it’s a quick midday cleanse, stick to the broth.
Five Low-Effort Rules for Better Soup
- Chop your vegetables the night before. I’ve learned that the biggest barrier to cooking isn’t the heat; it’s the prep work. If your onions and carrots are already in a container, you’re halfway to a meal before you even turn on the stove.
- Don’t fear the freezer. Keep a bag of frozen peas, corn, or spinach on hand. They don’t need thawing; just toss them in during the last five minutes of simmering to add color and nutrition without any extra effort.
- Salt in stages, not all at once. If you dump all your salt in at the start, you’ll likely overdo it once the liquid reduces. Season lightly at the beginning, then do a final taste test right before you serve it.
- Use acidity to wake up the flavor. If your soup tastes “flat” but you’ve already added salt, don’t reach for more sodium. A squeeze of lemon or a teaspoon of apple cider vinegar usually provides the brightness you’re actually looking for.
- Let it sit. Soup is one of the few things that actually tastes better the next day as the flavors settle and marry. If you have the capacity, make a double batch and let the leftovers do the heavy lifting for tomorrow’s lunch.
The Bottom Line
At the end of the day, making a good soup isn’t about following a complex recipe or buying expensive, pre-packaged kits that eat into your budget. It’s about understanding the mechanics: choosing a solid base, knowing when to use stock versus broth, and sourcing your ingredients in a way that doesn’t require a trip to the specialty market every time you’re hungry. Once you have these foundational systems in place, you stop viewing cooking as a chore and start seeing it as a simple, repeatable win. You’ve stripped away the unnecessary friction, leaving you with nothing but a functional, nourishing meal that actually fits your schedule.
I know what it’s like to feel like you don’t have the time or the resources to cook “real” food, but you don’t need a chef’s kitchen or a massive grocery budget to make it happen. You just need a plan that works for your actual life, not some idealized version of it. Start small, keep your pantry stocked with the essentials, and let the process become second nature. The goal isn’t perfection; it’s about building a sustainable rhythm that keeps you fed and your bank account intact. Now, go grab a pot and just start building.
Frequently Asked Questions
Can I freeze my soup batches without them turning into a weird, watery mess when I reheat them?
You can, but you have to play by a few rules to avoid that weird, separated texture. First, let the soup cool completely before it hits the freezer—never trap steam in a container. Second, if your soup is heavy on dairy or thickeners like cornstarch, skip the freezer; they’ll break and get grainy. For everything else, leave an inch of headspace for expansion. Reheat it low and slow to help the emulsion reset.
How do I know if I've added enough salt or seasoning without making it taste like a salt lick?
The trick is to taste in stages. Don’t just take a massive gulp; use a small spoon and let it sit on the back of your tongue for a second. If it tastes “flat” or dull, you need salt. If it tastes sharp but lacks depth, you need acid—a squeeze of lemon or a splash of vinegar works wonders. If you’re worried you’ve gone too far, add a peeled potato to absorb the excess, though honestly, it’s easier to just dilute the batch with more unsalted broth.
What's the best way to store leftovers so they actually stay fresh for more than two days?
Stop relying on those flimsy plastic containers; they’re how food goes stale. If you want leftovers to actually last, invest in a few high-quality glass containers with airtight silicone seals. Glass doesn’t hold onto odors, and the seal keeps oxygen out—which is what kills freshness. Also, let your soup or stew cool down slightly before sealing it, but get it in the fridge within two hours. It’s a small system that saves you from wasted money and mediocre meals.

