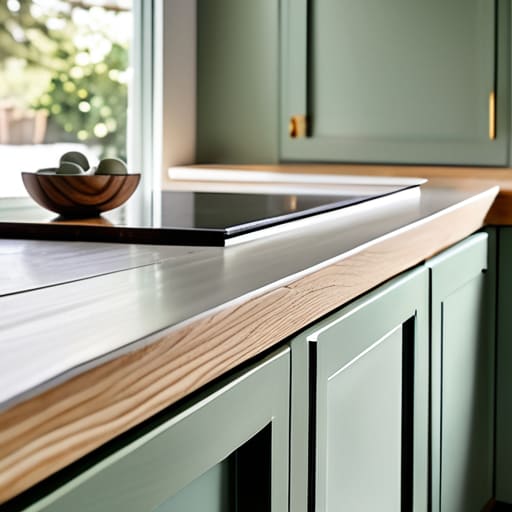
Transform Your Kitchen With a Fresh Coat of Cabinet Paint
I was sitting on my kitchen floor three years ago, surrounded by half-empty cans of primer and a mounting sense of regret, realizing I’d spent six hours sanding a single door. I had read every “pro” tutorial online, and they all promised a flawless, showroom finish if I just followed their exhaustive, twenty-step rituals. But honestly? Most of that advice is just a way to sell you more expensive equipment you don’t need. If you’re looking for how to paint kitchen cabinets without turning your home into a construction zone or losing your entire month’s budget, you have to stop chasing perfection and start focusing on durability.
I’m not here to give you a masterclass in fine art; I’m here to show you how to build a system that works. This guide is about the most efficient path to a clean, updated look that actually stands up to real life—spills, grease, and heavy use included. I’ll break down the exact tools I use, the shortcuts that actually save time without ruining the finish, and how to avoid the common mistakes that make you want to strip the paint off in frustration. Let’s get your kitchen looking right so you can get back to your life.
Table of Contents
Guide Overview
Tools & Supplies
- Screwdriver or drill to remove hardware
- Sandpaper (various grits) for surface preparation
- Paint sprayer or high-quality brush/roller for application
- Microfiber cloth for dust removal
- Cabinet degreaser or TSP for cleaning
- Primer (stain-blocking) 1-2 gallons
- Cabinet-grade paint (enamel or lacquer) 1-2 gallons
- Painter's tape for masking
Step-by-Step Instructions
- 1. First, strip everything out. I’m not talking about just moving the toaster; I mean taking the doors off the hinges and pulling out every single drawer. If you try to paint around hardware or handles, you’re just asking for a messy, amateur look. Lay them out on a clean drop cloth in a space where you actually have room to move. Don’t skip this step if you want the finished product to look like a professional did it instead of a weekend warrior.
- 2. Clean the surfaces like your life depends on it. Kitchens are basically grease traps, and if you paint over even a thin layer of cooking oil, the new coat will eventually peel right off. Grab a heavy-duty degreaser—something like TSP (trisodium phosphate)—and scrub every inch of the frames and the doors. I know it sounds tedious, but it’s much easier to scrub now than it is to strip failing paint six months from now.
- 3. Sand, but don’t go overboard. You aren’t trying to remove the old finish entirely; you’re just “scuffing” it so the new paint has something to grab onto. Use a medium-grit sandpaper to take the shine off the wood. If you spend three hours sanding every microscopic pore, you’re falling into the trap of over-engineering the process. Just get it matte and smooth, then wipe away the dust with a tack cloth so it’s perfectly clean.
- 4. Apply a high-quality primer. This is where most people try to cut corners to save money, but it’s a mistake. A good primer acts as the bridge between your old cabinet and your new color. Use a brush for the corners and a small foam roller for the flat surfaces to keep it even. You want a consistent, thin layer—not a thick, gloopy mess that drips down your cabinets.
- 5. Paint in thin, manageable layers. Grab a decent synthetic brush and a small microfiber roller. The secret to a professional finish isn’t one thick coat; it’s two or three very thin layers. If you try to cover the color in one go, you’ll get streaks and drips that will drive you crazy. Let each coat dry completely before you even think about touching the next one.
- 6. Reassemble on your own terms. Once everything is dry to the touch—and I mean truly dry, not just “not sticky”—put your hardware back on and hang the doors. If you’re feeling ambitious, this is a good time to check if any hinges need a quick tighten. Now, step back, grab a coffee, and actually enjoy the fact that your kitchen looks brand new without you having to spend five grand on a remodel.
The No Fluff Cabinet Painting Supplies Checklist
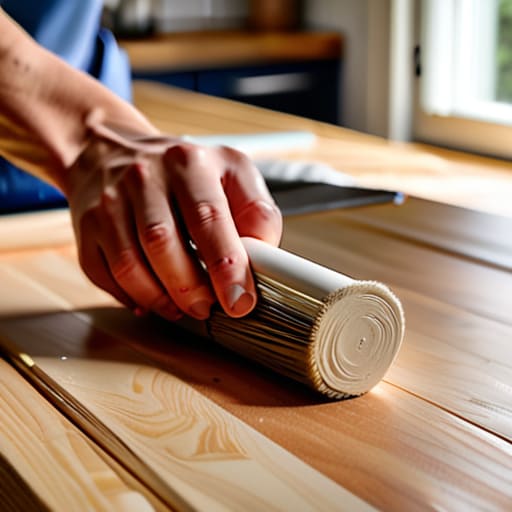
Look, you don’t need a professional workshop to do this, but you also shouldn’t cheap out on the basics. If you buy the wrong tools, you’ll end up spending more time fixing mistakes than actually painting. My personal cabinet painting supplies checklist starts with the brush. Skip the cheap multipacks; get a high-quality synthetic angled brush. It’s the difference between a smooth finish and a mess of texture. If you’re worried about preventing brush marks on cabinets, I highly recommend a small, high-density foam roller for the flat surfaces. It keeps the application even without the extra effort.
When it comes to the chemistry, don’t just grab any leftover latex from the garage. You need to look into specific kitchen cabinet primer types, ideally a high-adhesion primer that bonds to slick surfaces. This is the real secret to how to prep cabinets for painting without having to sand them down to the bare wood for three days straight. A good primer does the heavy lifting so you can focus on the finish. Just get the right stuff once, and you won’t have to do this all over again in six months.
Mastering How to Prep Cabinets for Painting Without the Chaos
Most people fail at this project because they treat prep like an optional chore. It isn’t. If you skip the cleaning or rush the sanding, you’re basically just painting over a mess, and you’ll be peeling it off in six months. When figuring out how to prep cabinets for painting, my rule is to focus on the surfaces that actually matter. Don’t obsess over every square inch of the interior, but you absolutely cannot skip a deep degreasing of the doors and frames. Use a heavy-duty cleaner to strip away the cooking oils; if there’s grease left, no amount of expensive paint will stick.
Once they’re clean, you need to tackle the texture. I’m not a fan of spending ten hours on heavy-duty sanding, so I stick to specific cabinet sanding techniques that prioritize efficiency. Just use a medium grit to scuff the surface so the primer has something to grab onto. You aren’t trying to strip the wood to bare grain; you’re just removing the factory shine. If you do this right, you’ll spend way less time fighting the finish later and more time actually using your kitchen.
Five Ways to Keep This Project from Ruining Your Life
- Don’t try to do the whole kitchen in one afternoon. If you run out of daylight mid-way through, you’ll end up with half-finished doors and a massive mess. Work in zones—do the doors one day, the frames the next.
- Skip the expensive, specialized “cabinet kits” if they feel like a gimmick. A high-quality, durable enamel paint and a decent synthetic brush will do 95% of the work. Spend your money on the paint, not the marketing.
- Test your color on a scrap piece of wood or the inside of a cabinet door first. Lighting in a kitchen changes constantly throughout the day, and that “perfect grey” can look like a depressing concrete basement by 6:00 PM.
- Use a small, high-quality roller for the flat surfaces instead of a big house-painting roller. It gives you much better control and prevents those annoying drip marks that make a DIY job look amateur.
- Be realistic about the “perfect” finish. If you’re looking for a factory-grade, mirror-smooth surface, hire a professional. If you want a clean, functional kitchen that looks great and doesn’t cost three months’ rent, stick to the system and move on.
The Finish Line
At the end of the day, painting your cabinets isn’t about achieving a museum-grade, flawless finish that requires a professional crew. It’s about the prep, the right tools, and not letting the process swallow your entire life. If you focused on cleaning the grease off first, sanded the high-touch areas, and used a decent brush, you’ve already done the heavy lifting. You don’t need to obsess over every microscopic speck of dust; you just need to apply the paint in thin, even layers and let the system work. Once those doors are back on the hinges and the tape is peeled, you’ll realize that the real value wasn’t just the new color, but the fact that you actually finished the job without burning out.
I know it feels like a massive undertaking when you’re staring at a pile of hardware and a messy kitchen, but don’t let the scale of the project intimidate you. We spend so much time waiting for the “perfect” moment to upgrade our space, but perfection is usually just a way to procrastinate. This is about taking ownership of your environment with the resources you already have. You’ve built a better kitchen, and more importantly, you’ve proven to yourself that you can maintain your own space without needing to outsource your life. Take a breath, grab a coffee, and just enjoy the view of a room that finally feels like yours.
Frequently Asked Questions
How do I know if my current cabinet finish is too glossy to paint without it peeling off in six months?
The easiest way to tell? The water test. Take a damp cloth and wipe a small section of the door. If the water beads up and rolls off like it’s on a waxed car, you’ve got a high-gloss finish or a heavy sealer. That’s a red flag for adhesion. If the water stays flat and soaks in slightly, you’re good. If it beads, you can’t skip the sanding step—otherwise, your paint is definitely peeling by next season.
Is it actually worth buying a professional sprayer, or can I get a decent finish with just a high-quality brush and roller?
Honestly? Unless you’re doing an entire house, skip the sprayer. They’re expensive, a nightmare to clean, and the setup alone will eat your afternoon. If you use a high-quality synthetic brush for the corners and a small microfiber foam roller for the flat parts, you’ll get a finish that looks professional enough. Just take your time with the rolling to avoid bubbles. Don’t buy gear you’ll only use once just to save a few minutes.
How long do I realistically have to wait before I can actually use my kitchen again without ruining the new paint?
Here’s the reality: you can touch them in a few hours, but don’t go heavy-handed immediately. Most paints feel dry to the touch quickly, but they take about 7 to 14 days to actually “cure”—which is when they become hard and resistant to chipping. For the first week, treat your cabinets like they’re made of glass. Avoid scrubbing them or letting heavy pots bang against them. Give it a week of gentle use before you resume normal life.

