The Ultimate Resin Crafting Starter Kit for Beginners
I used to think you needed a dedicated studio space and a massive budget to get into resin art, but that’s just a lie that keeps people from actually starting. I learned that the hard way when I tried to set up a “professional” station in my tiny apartment, only to end up with sticky surfaces and a ruined dining table. The truth is, most resin crafts for beginners don’t require a lab-grade setup; they just require a functional system that doesn’t turn your living space into a permanent construction zone. You don’t need every pigment and mold on the market to make something that looks intentional and high-quality.
In this guide, I’m stripping away the fluff and the expensive, unnecessary gear. I’ll show you how to pick a basic kit that actually works, how to manage the mess without losing your mind, and how to achieve those small, repeatable wins that make the hobby sustainable. We’re focusing on low-maintenance projects that fit into a busy schedule, ensuring you spend more time creating and less time cleaning up a disaster. Let’s get into it.
Table of Contents
Guide Overview
Tools & Supplies
- Silicone molds for shaping the resin
- Mixing cups for measuring and stirring
- Wooden sticks for stirring the mixture
- Heat gun or torch to remove air bubbles
- Nitrile gloves for hand protection
- Epoxy resin kit (2-part liquid)
- Silicone molds (various shapes)
- Liquid pigments or mica powder for color
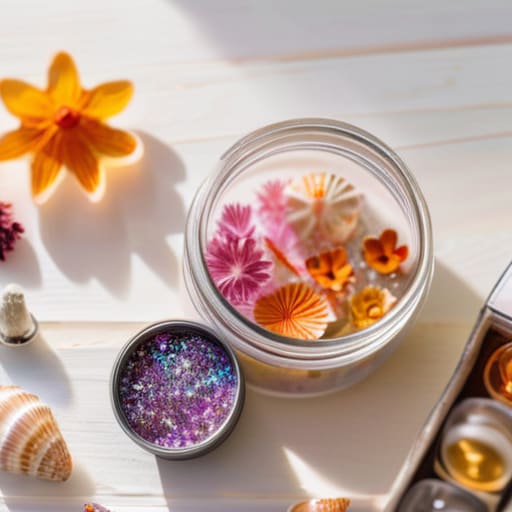
- Glitter or dried flowers for decoration
- Measuring scale for precise ratios
Step-by-Step Instructions
- 1. First, clear a workspace that you don’t actually care about. Resin is messy, and it’s a nightmare to scrub off a finished wood table. Grab some old newspapers or a cheap silicone mat to lay down. You want a space where you can work without hesitation because if you’re constantly worried about a drip hitting your floor, you’re going to rush the process and mess up the pour.
- 2. Get your gear, but keep it minimal. You need a high-quality epoxy resin kit (look for “casting resin” if you want it to stay clear), a few silicone molds, mixing cups, and wooden stir sticks. Don’t go out and buy every pigment and glitter shaker on the market yet. Start with a basic setup so you can learn how the chemistry actually works before you turn your apartment into a craft store warehouse.
- 3. Safety isn’t optional here. Even if the bottle says it’s low-odor, you’re working with chemicals. Open a window or turn on a fan, and if you can, grab a pair of nitrile gloves. I learned the hard way that once resin gets on your skin, it’s a lingering, sticky mess that’s a pain to deal with. Just protect yourself from the jump.
- 4. Measure your resin with zero guesswork. Most kits are a 1:1 ratio, but you need to be exact. If you’re even slightly off, your project will stay tacky forever, which is a total waste of time and money. Pour the resin and the hardener into separate cups first, then combine them. Use your stir sticks to mix slowly; if you stir too fast, you’ll create tiny air bubbles that look like annoying little white dots in your finished piece.
- 5. Add your color or inclusions. If you want a clean, minimalist look, just stick to the clear resin or add a single drop of pigment. If you’re feeling more experimental, toss in some dried flowers or gold leaf. The key is to work efficiently once the mixing is done, because the resin starts its chemical reaction almost immediately and will begin to thicken.
- 6. Pour the mixture into your molds. Do it in one smooth motion to avoid trapping air. If you see bubbles rising to the surface, don’t panic—just lightly run a lighter or a heat gun over the top to pop them. Once it’s in, leave it alone. This is the hardest part for most people, but patience is a system; if you keep poking at it, you’ll ruin the surface tension.
- 7. Wait for the cure. Depending on the brand, this could take anywhere from 12 to 24 hours. Don’t try to be a hero and unmold it early just because it looks dry. Let it sit in a dust-free area until it is completely hard. Once it’s set, pop it out of the mold, and you’ve got your first win. It’s a small, tangible thing that proves you can build something functional from scratch.
Mastering Essential Resin Art Supplies Without the Overwhelm
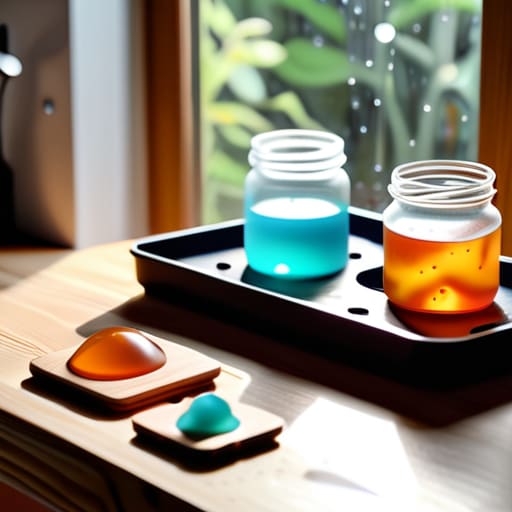
The biggest mistake I see people make is thinking they need a professional studio to start. You don’t. Honestly, you just need to be smart about your initial investment so you don’t end up with a pile of expensive, half-used bottles gathering dust. When you’re looking at essential resin art supplies, skip the high-end specialized tools for now. Grab a decent set of silicone molds and some basic measuring cups. The goal is to get a feel for the medium without turning your dining table into a permanent chemical wasteland.
One thing I learned the hard way is that precision beats speed every single time. If you mess up your resin mixing ratios for beginners, you’re going to end up with a sticky, tacky mess that never actually hardens, which is a massive waste of money. Also, please, do not skip the safety precautions for epoxy resin. A respirator and some nitrile gloves aren’t optional; they’re the bare minimum for keeping your workspace—and your lungs—functional. Treat your setup like a small, controlled experiment: keep it clean, keep it measured, and keep it simple.
Smart Resin Mixing Ratios for Beginners to Avoid Waste
Here is the biggest trap I see people fall into: they treat resin like paint and just “eyeball” it. If you do that, you’re essentially throwing money down the drain. Resin is an expensive chemical, and if your ratio is even slightly off, your project will stay tacky or never fully harden, no matter how long you wait. When you’re looking up resin mixing ratios for beginners, pay close attention to whether your specific brand is a 1:1 ratio by volume or a 2:1 ratio by weight. Getting this wrong is the fastest way to turn a fun afternoon into a sticky, expensive mess.
I always recommend using a digital scale rather than measuring cups if your resin requires weight-based precision. It’s much more accurate and helps you minimize leftover sludge at the bottom of your containers. Also, remember that once you start mixing, the clock is ticking. You need to work efficiently to manage the curing time for epoxy resin effectively. Don’t mix more than you can realistically pour in five minutes; otherwise, you’ll be fighting a thickening sludge before you even get it into your molds.
Five Ways to Keep Your Resin Projects from Becoming a Mess
- Work in a well-ventilated area, seriously. I learned the hard way that you don’t want to be breathing in those fumes in a closed-off bedroom; crack a window or set up near a fan so you aren’t stuck with a headache for the rest of the day.
- Don’t try to mix a giant batch of resin right away. It’s tempting to go big, but resin has a limited working time before it turns into a sticky, unusable brick. Start with small, manageable amounts so you aren’t racing against a clock that’s winning.
- Protect your workspace with something disposable. I use silicone mats or even just some cheap parchment paper. If you spill on a permanent table, your hobby just became a permanent part of your furniture, and that’s not a win.
- Use a level. It sounds extra, but if your surface is even slightly tilted, your resin will pool to one side, leaving your project looking lopsided and amateur. A quick check with a bubble level saves a lot of frustration later.
- Keep a “mistake jar” nearby. You’re going to mess up a mix or get a bubble where you didn’t want one. Instead of tossing it, pour it into a container to see how it cures—it’s a low-stakes way to learn how the material actually behaves.
Moving Forward Without the Mess
Look, the goal here wasn’t to turn you into a professional sculptor overnight. We covered how to pick your gear without blowing your monthly budget, how to nail those mixing ratios so you aren’t throwing expensive liquid down the drain, and how to keep your workspace from becoming a permanent disaster zone. If you can manage your supplies and respect the chemistry of the resin, you’ve already bypassed the biggest hurdles that trip most people up. Just remember that consistency beats perfection every single time. Start with something small—a coaster, a keychain, whatever—and focus on getting the basics right before you try to tackle a massive resin pour that requires a dedicated studio space you don’t have.
At the end of the day, I view hobbies like this as a way to reclaim a little bit of control over your environment. There is something incredibly grounding about taking raw materials and turning them into something functional and beautiful with your own hands. Don’t let the fear of a “failed” piece stop you from starting; even a cloudy tray is just data for your next attempt. Build your systems, keep your workspace clean, and focus on those small, repeatable wins. You don’t need a massive inheritance or a professional workshop to create something meaningful—you just need a little patience and a plan that actually works for your life.
Frequently Asked Questions
How do I stop my resin from getting those annoying tiny bubbles without buying an expensive vacuum chamber?
Look, you don’t need a vacuum chamber to get clear results. First, stop stirring like you’re whisking eggs; stir slowly and steadily to avoid folding air into the mix. If you’ve already poured, grab a long-neck lighter or a butane torch and lightly pass the flame over the surface—the heat pops those tiny bubbles instantly. Finally, let your resin sit in the mixing cup for five minutes before pouring. Patience is free.
Is it actually safe to do this in a small apartment, or do I need a dedicated workshop to avoid breathing in fumes?
You don’t need a dedicated workshop, but you can’t just do this on your coffee table while watching Netflix. If you’re in a small apartment, ventilation is your only real priority. Work near an open window with a fan pulling air out, and please, invest in a decent respirator mask—not just a paper one. I’ve learned the hard way that “faint smells” aren’t a reason to skip safety. Keep the fumes moving.
How can I tell if my resin is curing properly versus just staying sticky and ruining my project?
The “tackiness test” is your best friend here. If it’s been 24 hours and it feels like a Post-it note, something’s wrong. Check your mixing—if you didn’t stir enough, it’ll stay gummy forever. Also, watch your environment; if your room is too cold or humid, the chemical reaction just stalls. If it’s still sticky after a full cure time, don’t force it. Sometimes you just have to scrape it off and start over to save your sanity.

