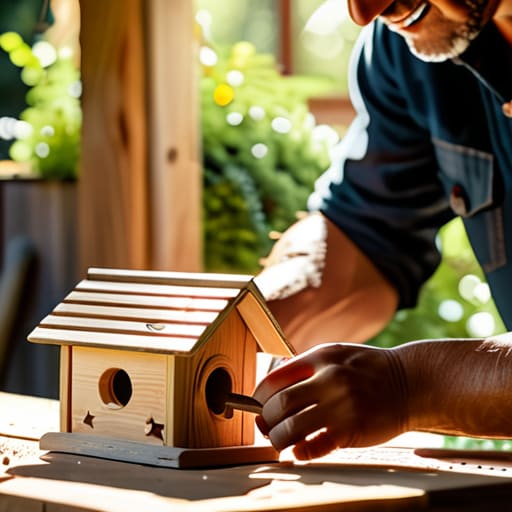
A Fun Weekend Woodworking Project to Do With the Kids
I was sitting on my fire escape last summer, surrounded by the usual city hum, when I realized I hadn’t seen a single bird in weeks. Most DIY guides will tell you that you need a professional workshop and a massive budget to create something meaningful for your local ecosystem, but that’s a lie. You don’t need a garage full of expensive power tools to figure out how to build a birdhouse that actually works. I learned early on growing up in a cramped apartment that if you can’t fix it with a few basic tools and some scrap material, it isn’t a sustainable system.
In this guide, I’m stripping away the fluff and the over-engineered blueprints that waste your Saturday. I’ll show you how to use basic materials to build a functional, sturdy shelter that birds will actually use, without turning your living room into a sawdust disaster zone. We’re focusing on a low-effort, high-impact design that respects your time and your wallet. Let’s get this built so you can get back to your life and finally enjoy some actual nature from your window.
Table of Contents
Guide Overview
Tools & Supplies
- Hand saw or miter saw for cutting wood
- Hammer for driving nails
- Drill with small bit for pilot holes and entrance hole
- Measuring tape for accurate dimensions
- Untreated cedar or pine board (1" x 6" x 4')
- Galvanized nails or exterior screws (1.5 inch)
- Wood glue (exterior grade)
- Sandpaper (medium grit)
Step-by-Step Instructions
- 1. First, don’t go buying a massive toolkit you’ll never use again. You just need a hand saw, a hammer, some wood glue, and a box of galvanized nails. Grab a single piece of untreated cedar or pine—about 1×6 inches—from a local hardware store. I prefer cedar because it handles the weather without needing toxic stains or constant maintenance.
- 2. Measure and mark your cuts using that notebook of yours to keep track of the dimensions. You’re looking for six pieces: a floor, a roof, a back, a front, and two sides. Keep the floor slightly smaller than the width of the walls so you can create a little natural drainage gap at the corners; it keeps the nest dry and prevents rot.
- 3. Cut the pieces carefully, but don’t sweat perfection. If the edges aren’t laser-straight, it’s not going to ruin the bird’s life. Once you have your shapes, use a drill to make an entrance hole in the front panel. Make sure the hole is about 1.5 inches wide—this is the sweet spot for most common backyard birds while keeping larger predators out.
- 4. Start the assembly by gluing and nailing the sides to the back panel. I like to apply a thin bead of wood glue to the edges before hammering the nails in; it creates a much stronger bond that actually lasts through a few seasons of rain. Work from the bottom up so the structure stays stable while you’re building it.
- 5. Attach the front panel and the floor. When you’re putting the floor in, make sure it’s recessed slightly so water doesn’t pool on the surface. If you want to be smart about it, only nail one side of the front panel or use a couple of screws that you can easily remove later. This creates a removable access point so you can clean out the old nest once a year without destroying the whole thing.
- 6. Finally, nail the roof on top, making sure it has a decent overhang to protect the entrance from rain. Don’t bother painting it or adding fancy decorations; birds actually prefer a natural, unadorned look that blends into the environment. Mount it on a post or a tree about five to ten feet off the ground, and you’re done.
Choosing the Best Wood for Birdhouses and Essential Tools
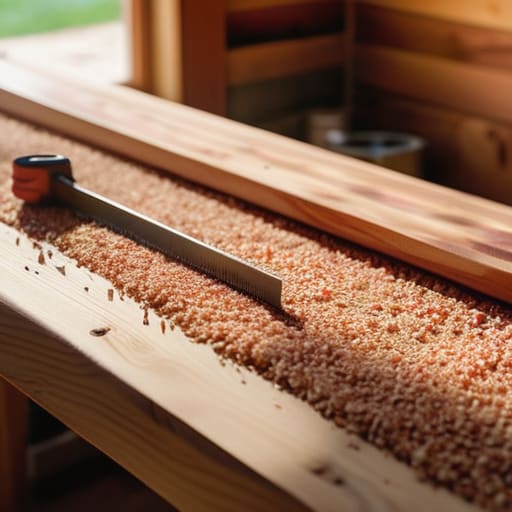
When you’re picking materials, don’t go overboard trying to find something exotic. You want durability without the headache. For the best wood for birdhouses, stick to cedar, redwood, or pine. These woods handle moisture reasonably well and won’t rot the second a heavy rain hits. Avoid anything pressure-treated; the chemicals used to preserve that lumber aren’t exactly friendly to nesting birds. If you want to keep it simple, just grab a standard cedar fence picket from the hardware store—it’s cheap, weather-resistant, and usually the right thickness for a quick build.
As for the gear, you don’t need a full workshop to get this done. Most basic woodworking tools for birdhouses are things you probably already have in a junk drawer or a small toolkit: a hand saw, a hammer, and some galvanized nails that won’t rust. If you’re feeling precise, a drill with a spade bit is helpful for the entrance hole, but don’t stress about perfection. Birds care more about a dry, sturdy shelter than whether your edges are perfectly sanded. Keep it functional, keep it raw, and move on to the next task.
Mastering Birdhouse Dimensions for Specific Species and Easy Assembly
If you try to build a “one size fits all” house, you’ll likely end up with a structure that no one actually uses. Most people make the mistake of thinking any box with a hole works, but you really need to consider birdhouse dimensions for specific species if you want actual residents. For example, a bluebird needs a much larger entrance than a chickadee. If the hole is too big, predators move in; if it’s too small, your target bird can’t get through. I usually keep a small cheat sheet in my notebook with these measurements so I don’t have to guess every time I start a new project.
Once you have your measurements dialed in, don’t make the assembly harder than it needs to be. When you’re attaching the birdhouse roof, I recommend using a single screw on one side rather than nailing it shut on all four. This creates a pivot point, essentially making a hinge. It means you can actually open the house to clean it out once the season is over without having to tear the whole thing apart. It’s a small tweak, but it turns a disposable project into a long-term system.
Five ways to avoid a DIY disaster
- Skip the paint on the inside. Birds don’t care about your aesthetic, and most paints release fumes that can actually kill them. If you want to decorate the outside, stick to natural oils or just leave it raw so it weathers nicely.
- Drill some ventilation holes near the top. If you build a solid box without airflow, you’re basically creating an oven for the chicks once the sun hits it. A little breeze goes a long way.
- Don’t use a perch. I know, it looks classic in cartoons, but perches actually make it easier for predators like crows or cats to hang on and reach inside. A clean entry hole is a safer entry hole.
- Make the bottom easy to clean. If you glue everything shut, you’ll have to smash it to get rid of old nests next season. Use a couple of screws on one panel so you can swing it open and clear it out in five minutes.
- Mind the drainage. Drill a few small holes in the floor corners. If rain gets in, you want it to drain out immediately so the nest doesn’t turn into a swamp.
The Final Build
At the end of the day, building a birdhouse isn’t about achieving architectural perfection or buying the most expensive cedar in the shop. It’s about the math and the materials—getting those dimensions right for the species you want to attract and using wood that won’t rot the second it hits a rainstorm. If you’ve picked your tools, matched your hole size to your target bird, and kept your assembly simple, you’ve already done the hard part. Don’t sweat the small imperfections; as long as the structure is solid and weather-resistant, you’ve built a functional system that serves a purpose.
I know life gets loud and your to-do list probably feels endless, but there is something deeply grounding about finishing a physical project with your own hands. It’s a small, repeatable win that reminds you that you don’t need a massive workshop or a professional degree to improve your immediate environment. Hang that box up, step back, and let the birds do the rest of the work. You’ve created a bit of order in the chaos, and that is always worth the effort.
Frequently Asked Questions
Do I really need to paint or stain the outside, or will that mess with the birds?
Skip the paint. Honestly, it’s more trouble than it’s worth. Most paints or stains release fumes that can actually be toxic to birds, and once that finish starts peeling, it’s just more work for you. If you want it to look decent, just leave the wood raw or use a tiny bit of linseed oil on the outside only. My rule: if it smells like a chemical factory, the birds won’t want it.
How do I make sure the birdhouse is actually safe from predators like squirrels or cats?
Don’t just hang it and hope for the best. To keep cats and squirrels out, mount the house on a metal pole rather than a tree—it’s much harder to climb. Also, add a predator guard, which is basically just a thick collar around the pole. Most importantly, keep the entrance hole small and specific to the bird you want; if a squirrel can’t fit its head in, it can’t wreck the nest.
Where’s the best spot to hang this so it actually gets used and doesn't just sit empty?
Don’t just nail it to the nearest tree and call it a day. You want it somewhere quiet but not isolated. Aim for about five to ten feet up, tucked under some eaves or thick branches to keep the rain out. Most importantly, face the entrance away from the prevailing wind. If you put it in a high-traffic area where people or pets are constantly passing, birds aren’t going to feel safe enough to move in.

