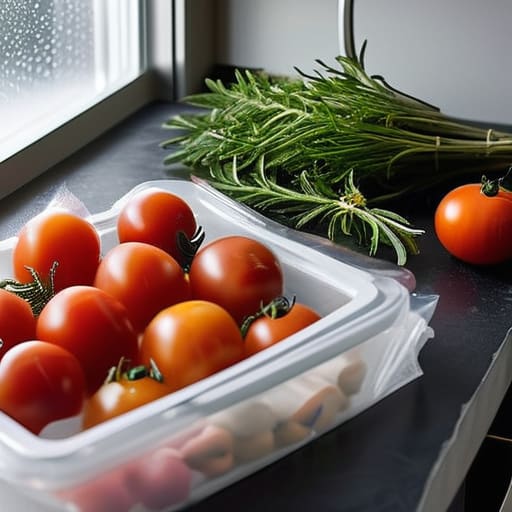
A Pro’s Guide to Freezing Food Correctly
I used to think you needed a specialized vacuum sealer and a dozen different types of expensive, BPA-free containers just to learn how to freeze food without it turning into a block of ice crystals. I spent my early twenties in a tiny apartment, watching my grocery budget disappear because I’d buy a bulk bag of spinach only to find a literal science experiment in the back of the freezer two weeks later. Most of the advice out there is way too precious—it treats meal prep like a high-stakes culinary ritual rather than what it actually is: a way to stop throwing money in the trash.
I’m not here to sell you on a lifestyle you don’t have time for. Instead, I’m going to show you a few low-effort systems that actually work for real life. We’re going to focus on the bare essentials—the stuff that keeps your food tasting decent and your kitchen from becoming a graveyard of mystery leftovers. No fluff, no expensive gadgets, just repeatable wins that help you reclaim your time and your bank account.
Table of Contents
Mastering Airtight Container Importance for Maximum Savings
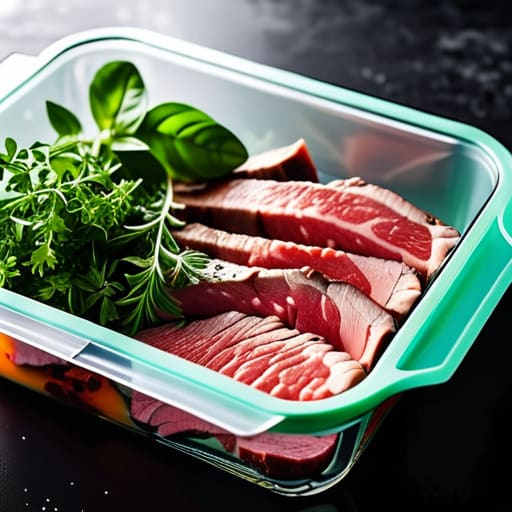
Look, if you’re just tossing open bags of frozen peas into the freezer and hoping for the best, you’re basically throwing money into a black hole. The biggest enemy here isn’t the cold; it’s the air. When air hits your food, you get freezer burn—that weird, icy, desiccated texture that makes even a decent piece of chicken taste like cardboard. Understanding airtight container importance is the difference between having a meal ready on Tuesday and having to scrape frost off a ruined steak.
I don’t have the time or the budget for fancy, high-end gadgets, but I do swear by a few basics. If you aren’t ready to invest in a vacuum sealer, just make sure your containers are actually sealed tight. Even a small gap in a lid allows air to circulate, which is the fastest way to ruin your stash. For things like freezing vegetables and fruits, I usually squeeze as much air out of the bag as humanly possible before clipping it shut. It’s a five-second habit that ensures your food actually stays edible for the long haul.
Vacuum Sealing for Long Term Storage Without the Stress
If you’re serious about making your grocery budget stretch through the month, vacuum sealing is the heavy hitter. I used to think these machines were overkill for a one-person household, but after watching a perfectly good steak turn into a gray, leathery mess due to freezer burn, I changed my mind. Vacuum sealing is the ultimate tool for freezer burn prevention because it aggressively removes the oxygen that causes ice crystals to form on your food. It’s not about being fancy; it’s about ensuring that when you finally go to cook that expensive cut of meat in three weeks, it actually tastes like the meat you paid for.
Don’t feel like you need a professional-grade setup to start. You can get decent results with a basic home sealer and some decent rolls. When you’re vacuum sealing for long term storage, the trick is to do it in small, manageable batches. Don’t try to seal everything on a Sunday night and call it a day. Instead, seal things as you prep them. It keeps the process from feeling like a second job and ensures your most expensive proteins stay protected for the long haul.
The Low-Maintenance Rules for a Freezer That Actually Works
- Portion everything out before it hits the ice. Don’t freeze a massive, single block of chili that takes three hours to thaw; split it into small, single-serving containers so you can grab exactly what you need for one meal and nothing more.
- Flatten your bags. If you’re using freezer bags, squeeze the air out and lay them flat on a tray or a shelf. They stack like books instead of taking up random, awkward space, and they thaw way faster.
- Label with a Sharpie and a date. I know, it feels extra, but there is nothing worse than digging through a frozen tundra only to realize that “mystery brown stuff” has been sitting there since last October. Write the date and what it is—keep it simple.
- Flash freeze your small stuff. If you’re freezing berries, herbs, or even individual meatballs, spread them out on a baking sheet for an hour before bagging them. This prevents them from turning into one giant, inseparable clump.
- Don’t overcomplicate the prep. You don’t need a culinary degree to freeze food. If a vegetable is about to go bad, chop it up, toss it in a bag, and get it in the freezer. The goal is to save the food, not to make the process a chore.
The Bottom Line
Look, you don’t need a professional-grade kitchen or a massive amount of free time to make this work. It really just comes down to two things: using the right containers to prevent freezer burn and being intentional about how you portion everything out. Whether you’re investing in a decent vacuum sealer for the long haul or just grabbing some heavy-duty freezer bags for a quick batch of leftovers, the goal is the same. Stop letting good food turn into expensive ice crystals in the back of your freezer. Once you establish a consistent system for portioning and sealing, you’ve already won half the battle against food waste and unnecessary grocery runs.
At the end of the day, this isn’t about being a gourmet chef or a master of organization. It’s about building small, repeatable wins that protect your time and your bank account. Every time you freeze a meal instead of tossing it, you’re reclaiming a little bit of control over your life and your budget. Don’t aim for perfection on day one; just start with one bag, one container, or one leftover portion. Build the habit slowly, keep it simple, and let the system work for you so you can focus on the things that actually matter.
Frequently Asked Questions
Is it actually worth buying a vacuum sealer, or can I just stick to heavy-duty freezer bags?
Honestly, it depends on your scale. If you’re just freezing leftover chili or a single bag of spinach, don’t bother with the extra gear—heavy-duty freezer bags are fine. But if you’re actually trying to buy meat in bulk to save money, get the sealer. It prevents freezer burn way better than bags ever will. For me, the vacuum sealer is a tool that pays for itself in saved groceries; the bags are just for the quick stuff.
How do I stop my frozen food from tasting like "freezer burn" or picking up other smells?
The “freezer burn” taste is usually just air hitting your food. If there’s air in the bag, there’s oxidation, and that’s where that weird, stale flavor comes from. To fix it, squeeze every bit of air out of your bags before sealing—I literally use my hands to press it all out. Also, keep your heavy aromatics, like onions or garlic, in their own separate glass containers. Don’t let them mingle with your plain stuff.
Can I just throw leftovers straight in the freezer, or do they need to be completely cold first?
Don’t throw hot leftovers straight in. It’s tempting when you’re tired, but it’ll spike the temperature in your freezer, potentially thawing the stuff around it. Plus, you’ll end up with a block of ice crystals that ruins the texture. Just let them sit on the counter for a bit or pop them in the fridge first. Get them chilled, then freeze. It’s a small extra step that actually saves your food.

